
Building a high-voltage project – Mini Jacob’s Ladder

Digital Clock with DHT22 Temperature and humidity sensor
1月 4, 2026Building a high-voltage project – Mini Jacob’s Ladder
2月 15, 2026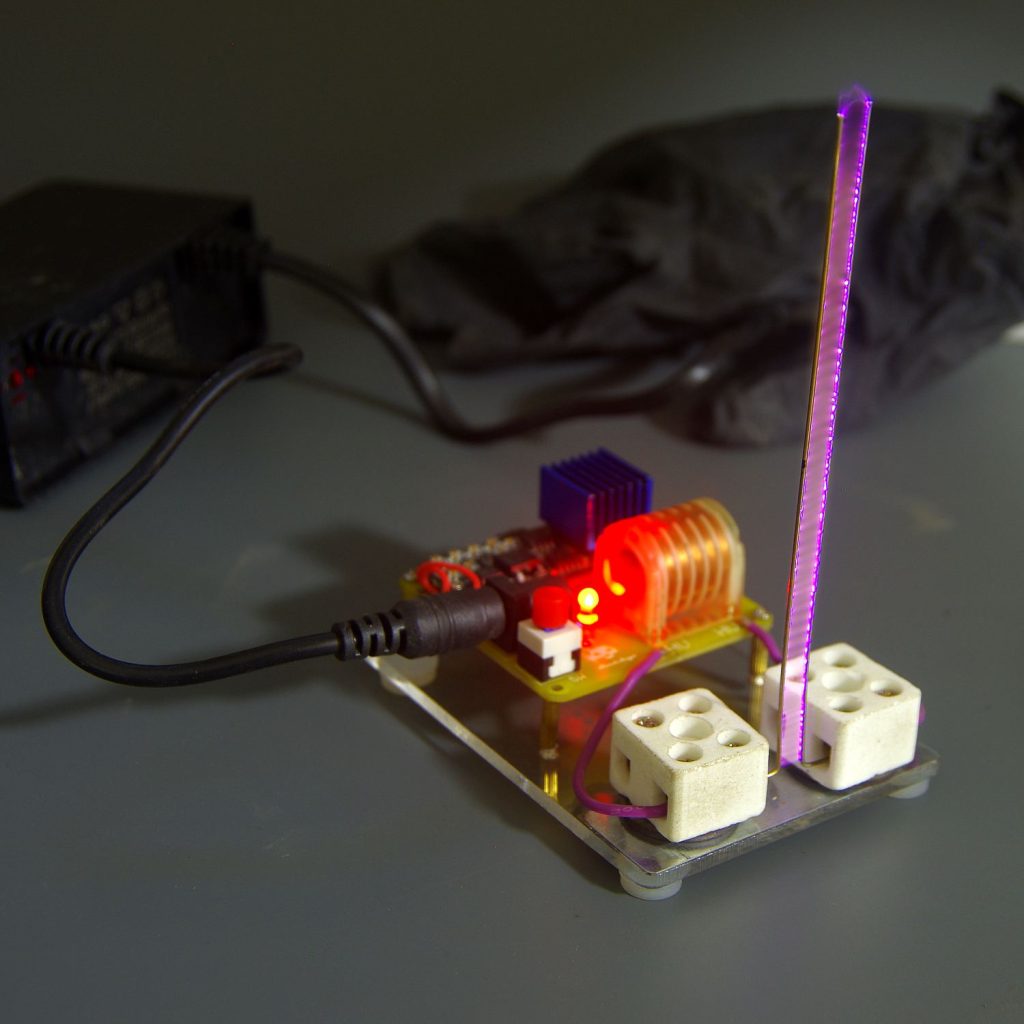
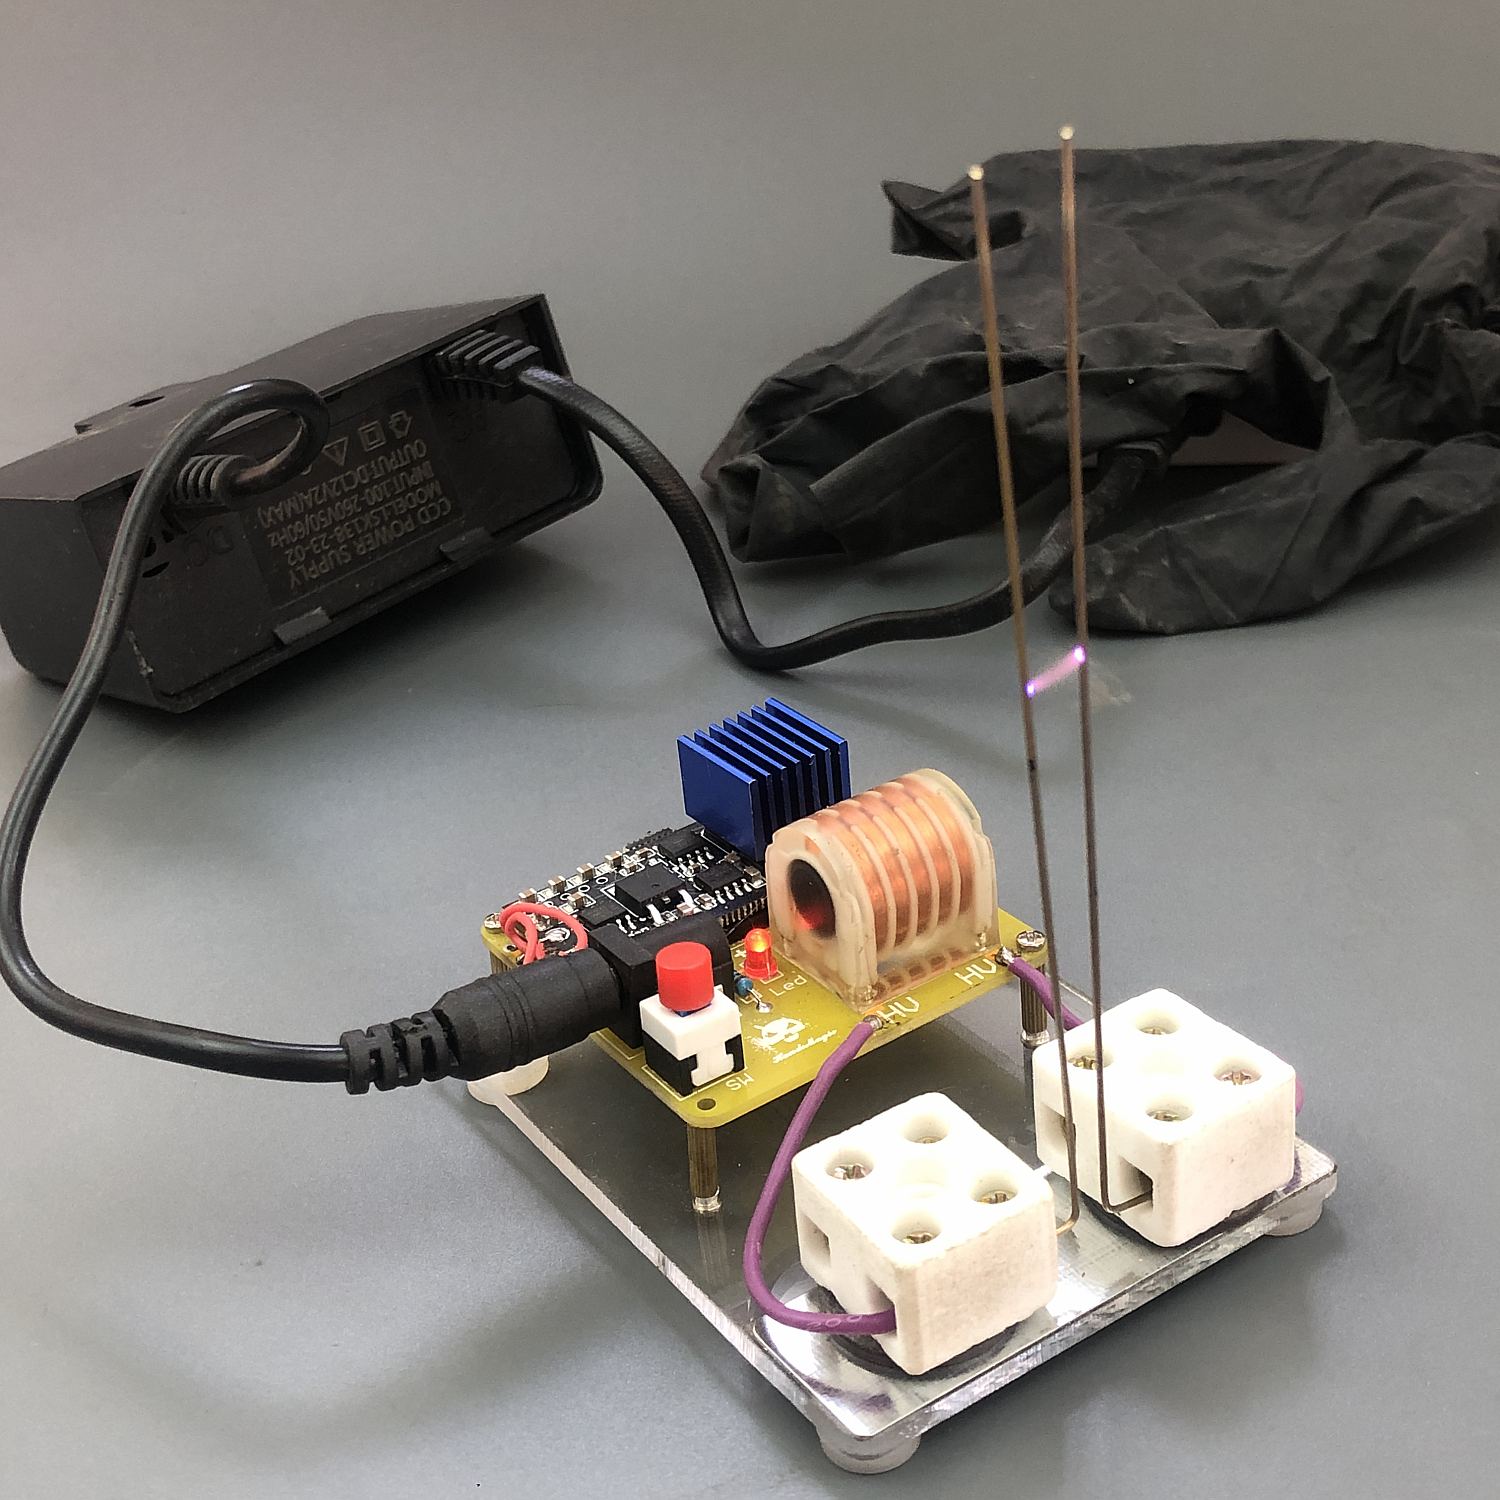
This is a miniature, low-power Jacobian ladder.
It uses a 12V 2ADC (you’ll need to provide your own power supply).
Let’s begin building it; follow me
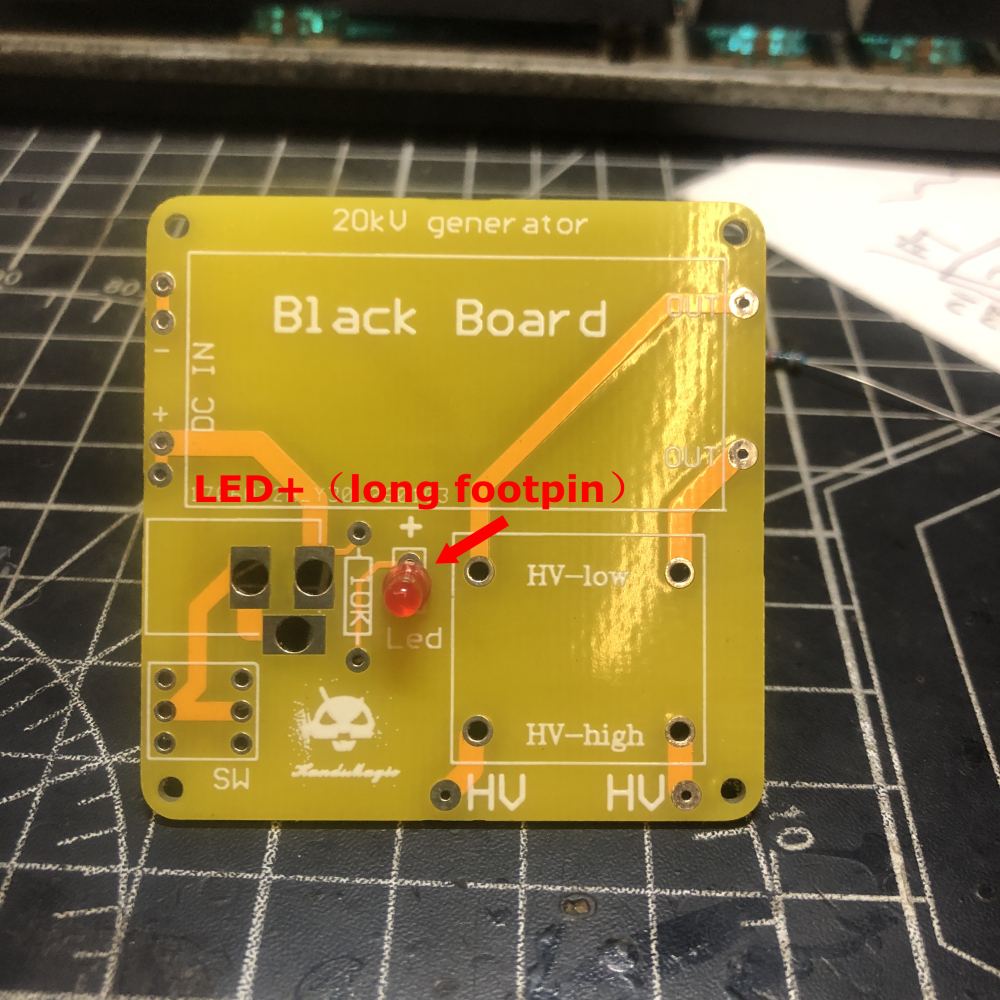
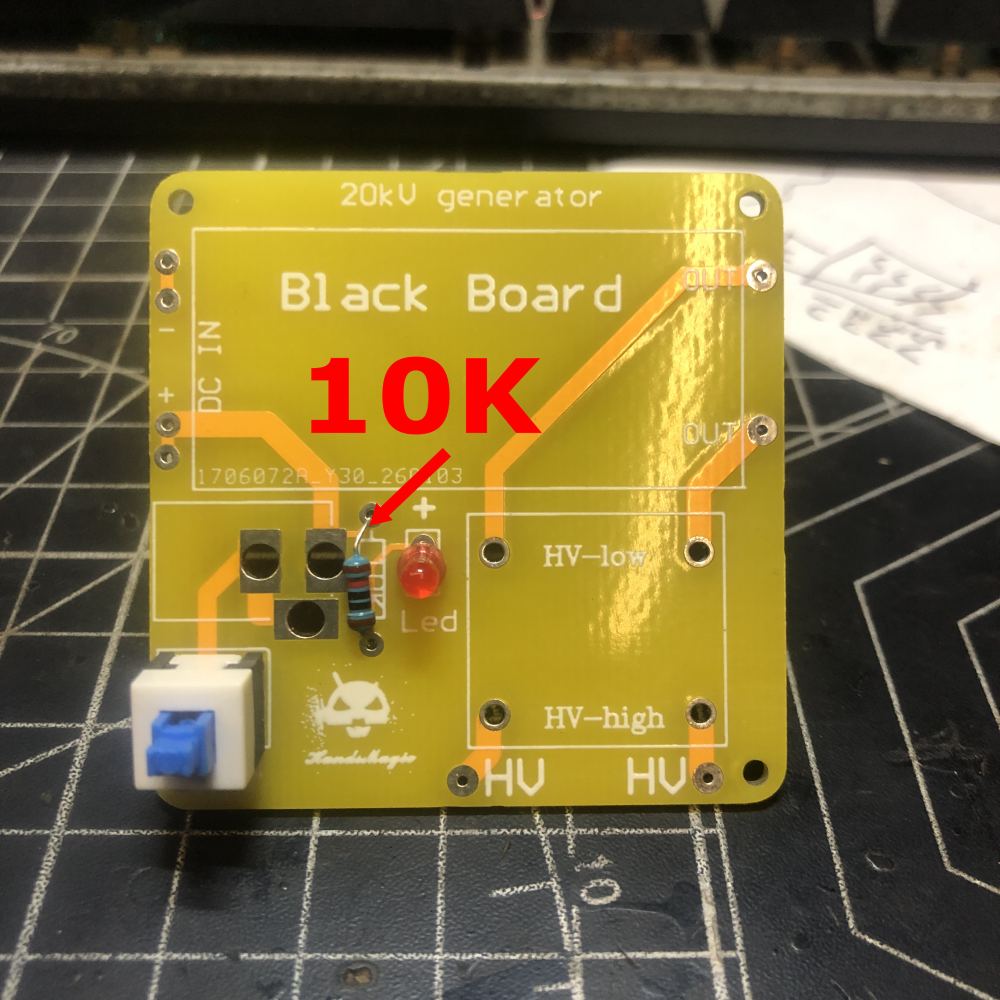
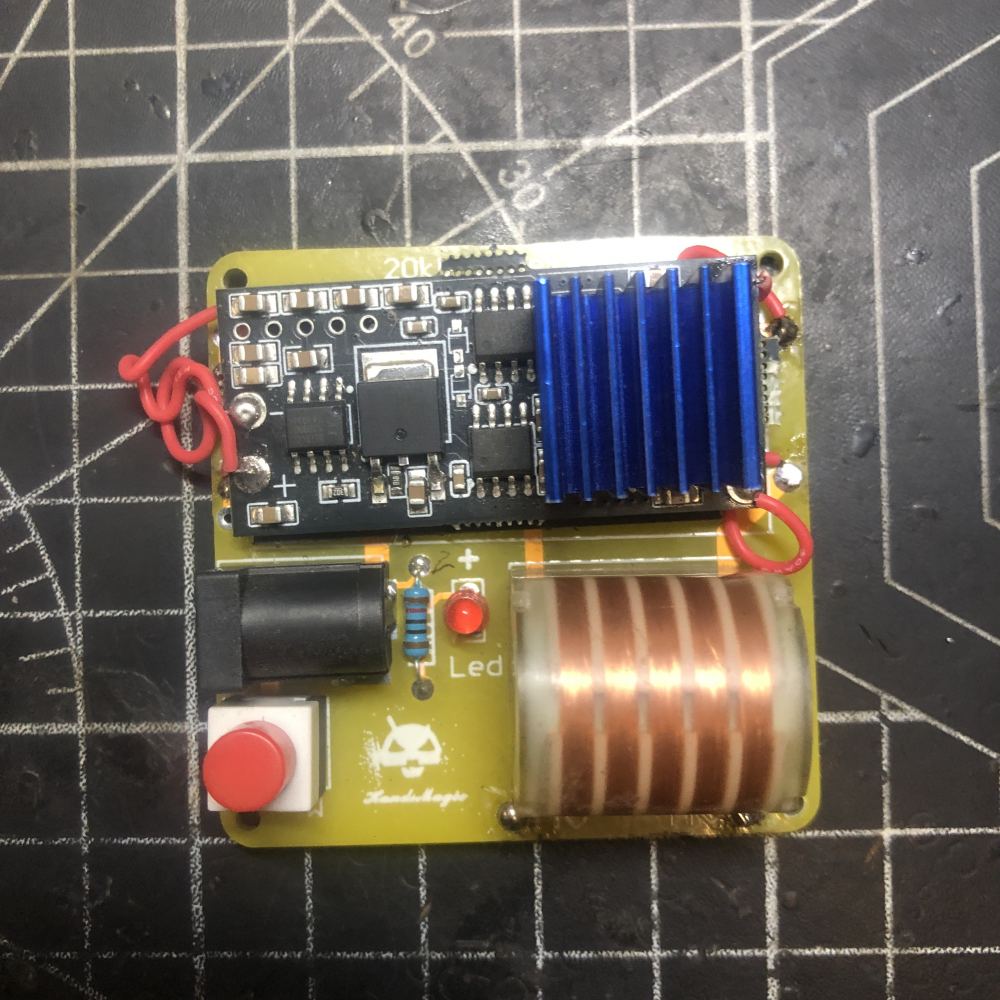
Power indicator LED , pay attention to the installation location; the longer lead is the “+”.
10k current-limiting resistor
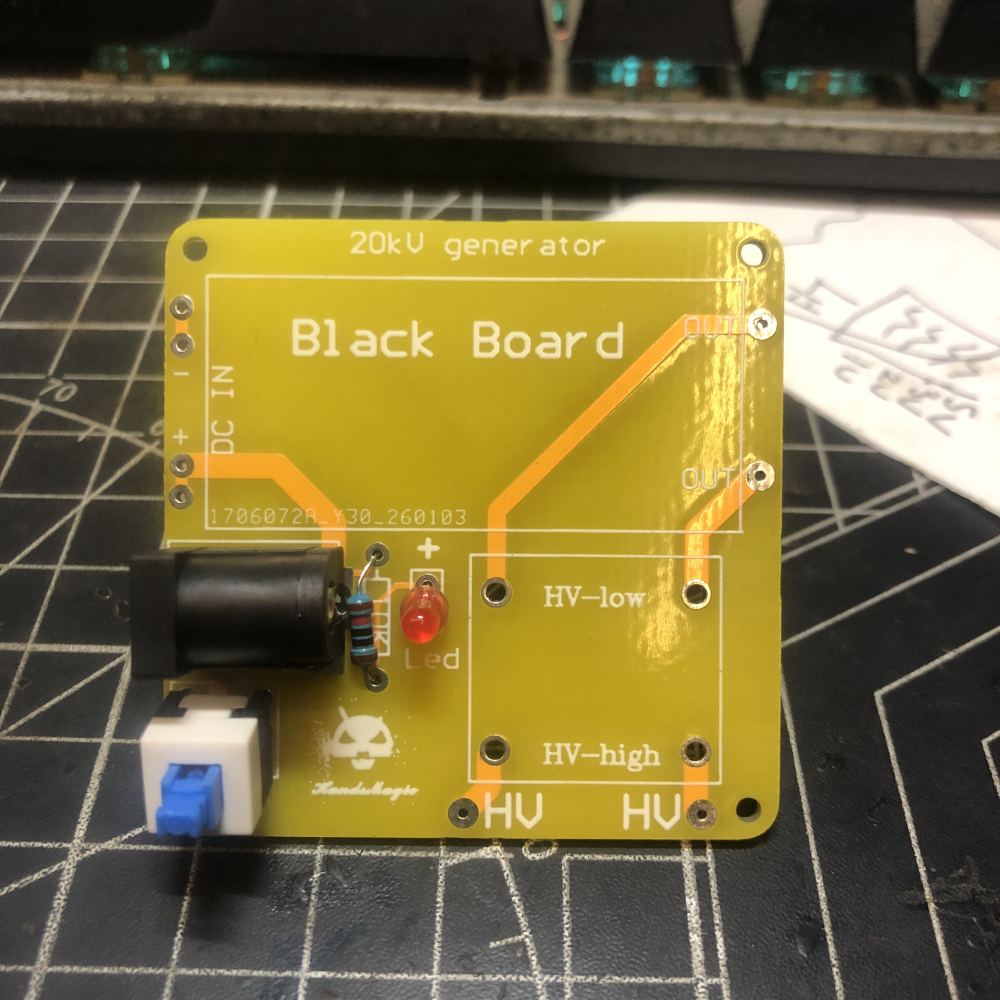
Power socket and switch
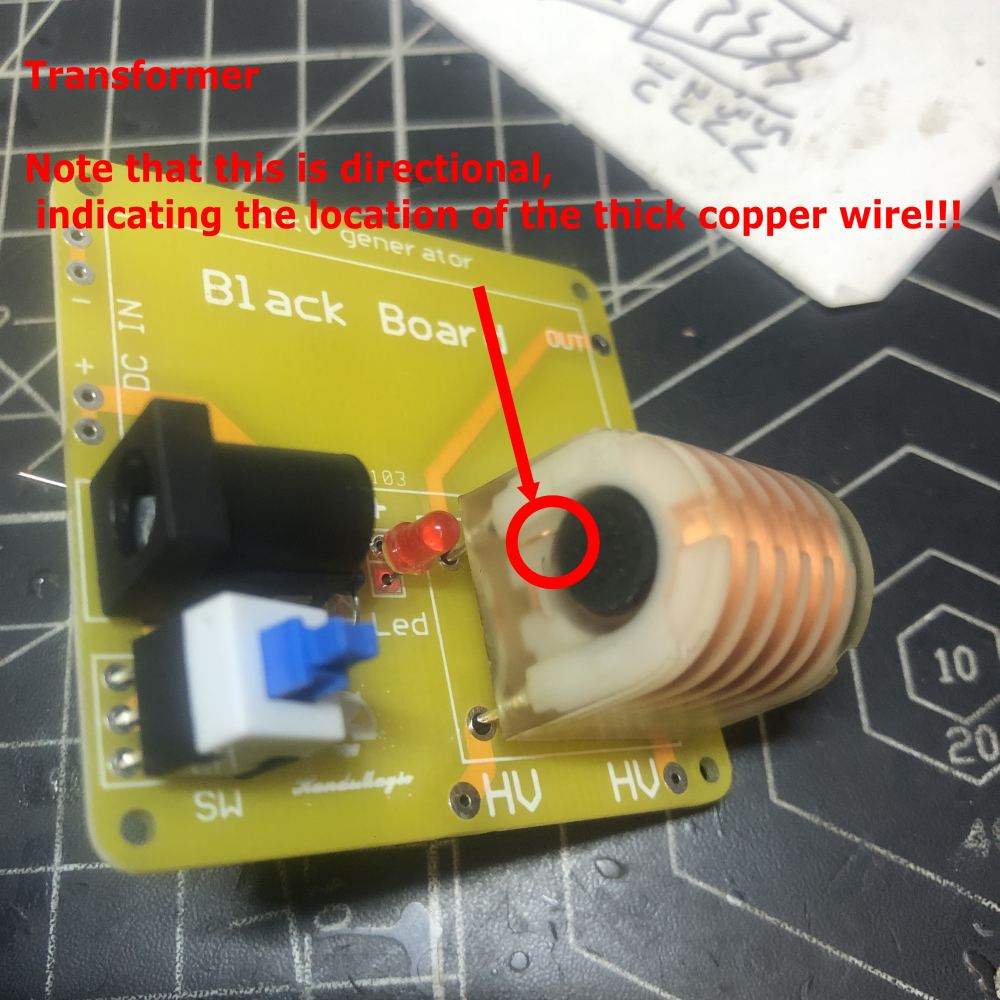
Transformer. Note the installation location; the end with the thicker copper wire is at the top, as shown in the picture.
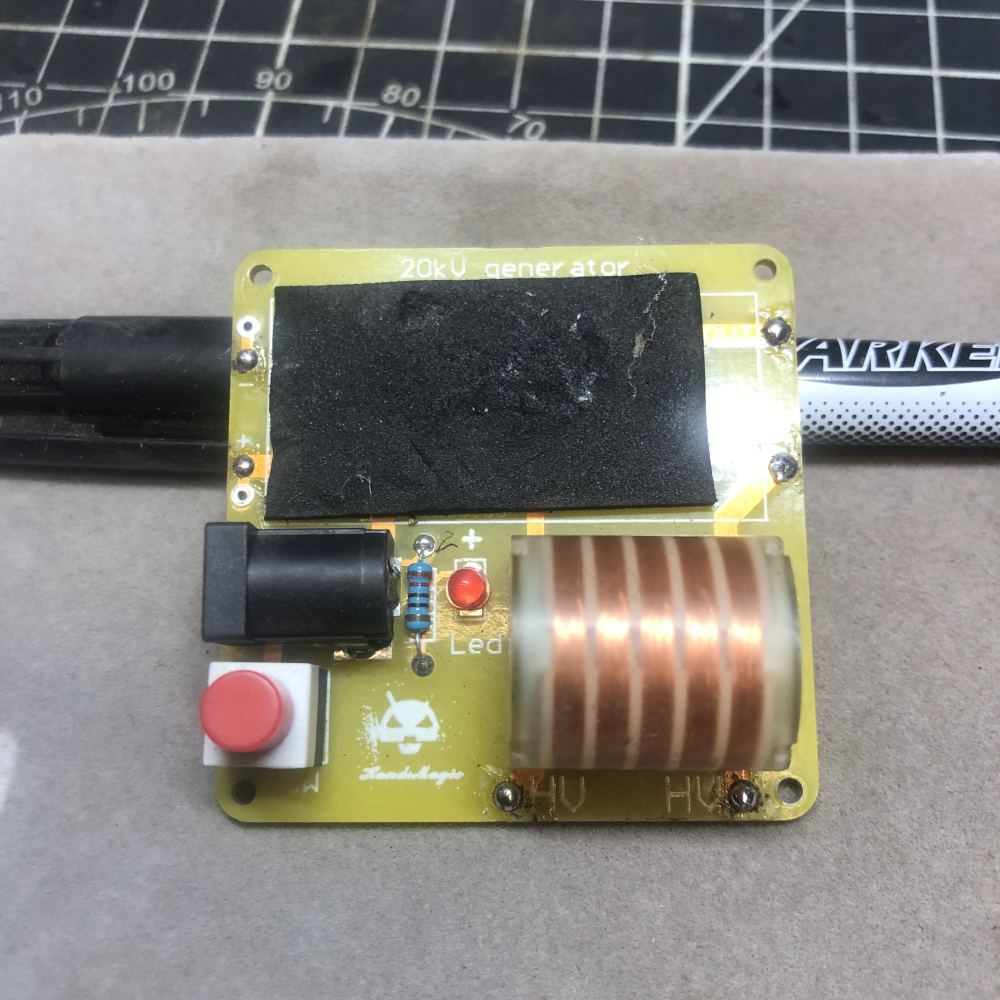
Adhesive sponge
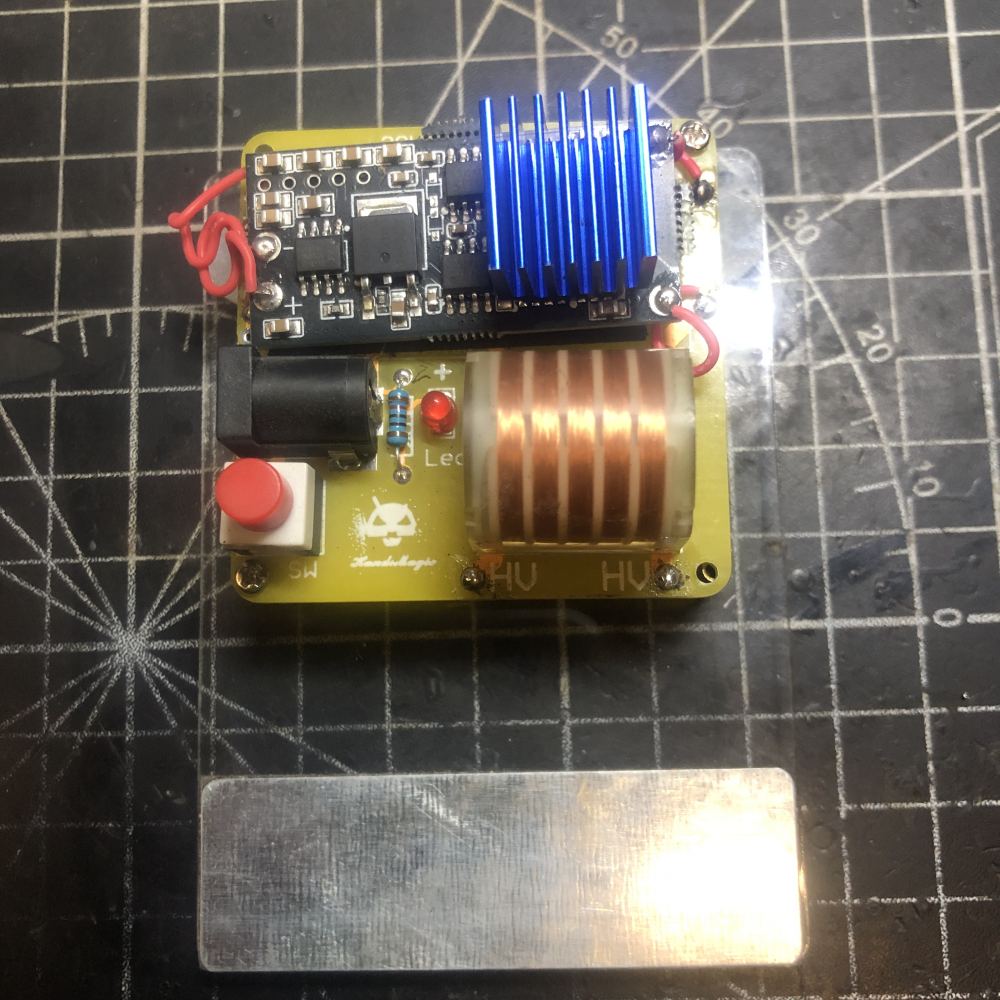
This is the core of the entire circuit, using a microcontroller to drive MOSFETs and a 20kV high-voltage generator.
The blue part is the heat sink.Paste onto 4 MOSFETs
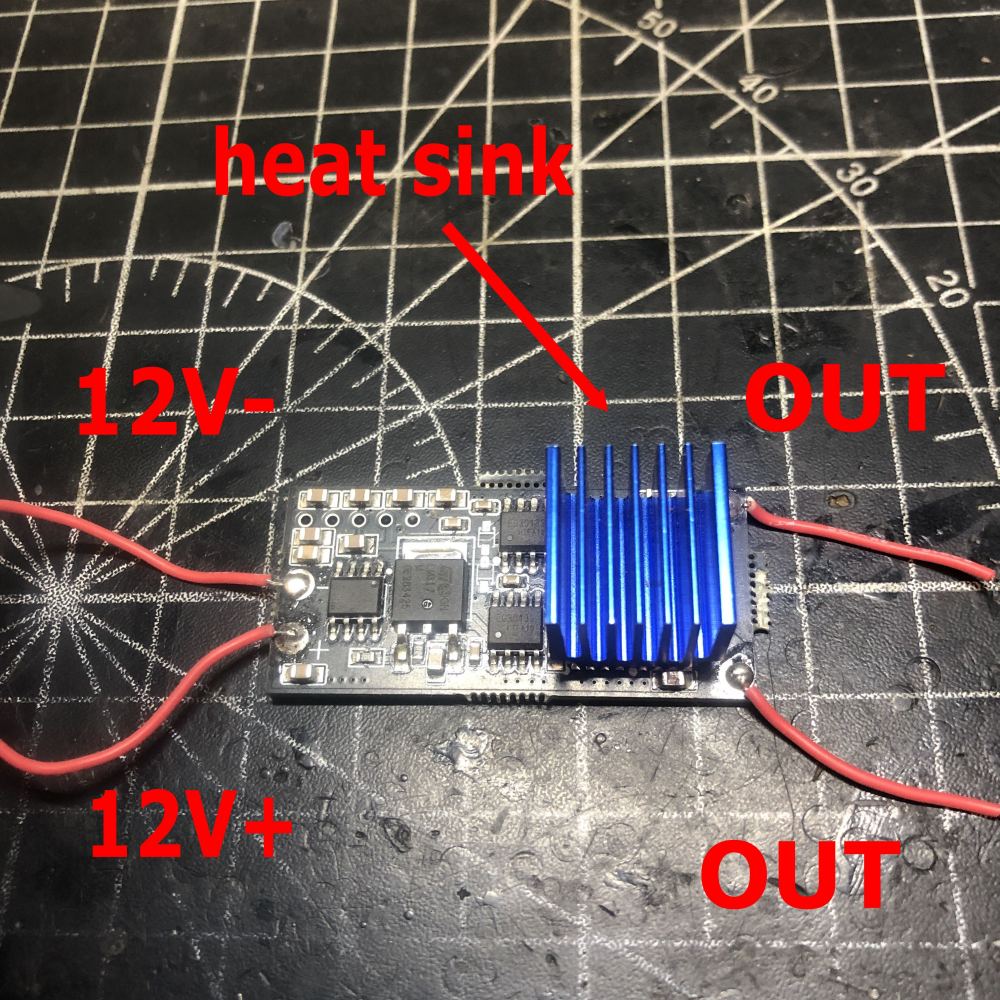
The circuit board has “+”, “-“, and “OUT” symbols, which correspond to the soldered wires.
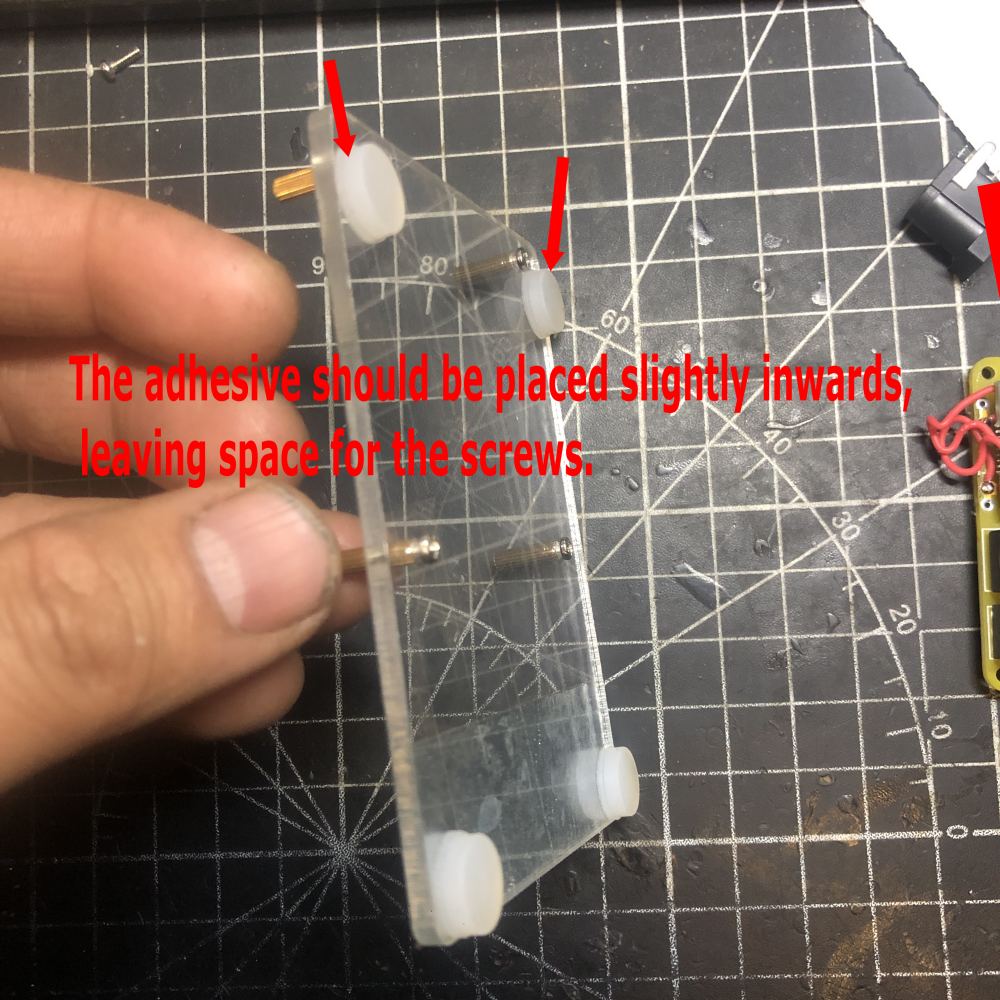
Attach four silicone gaskets.
Note: You need to leave space for the screws.
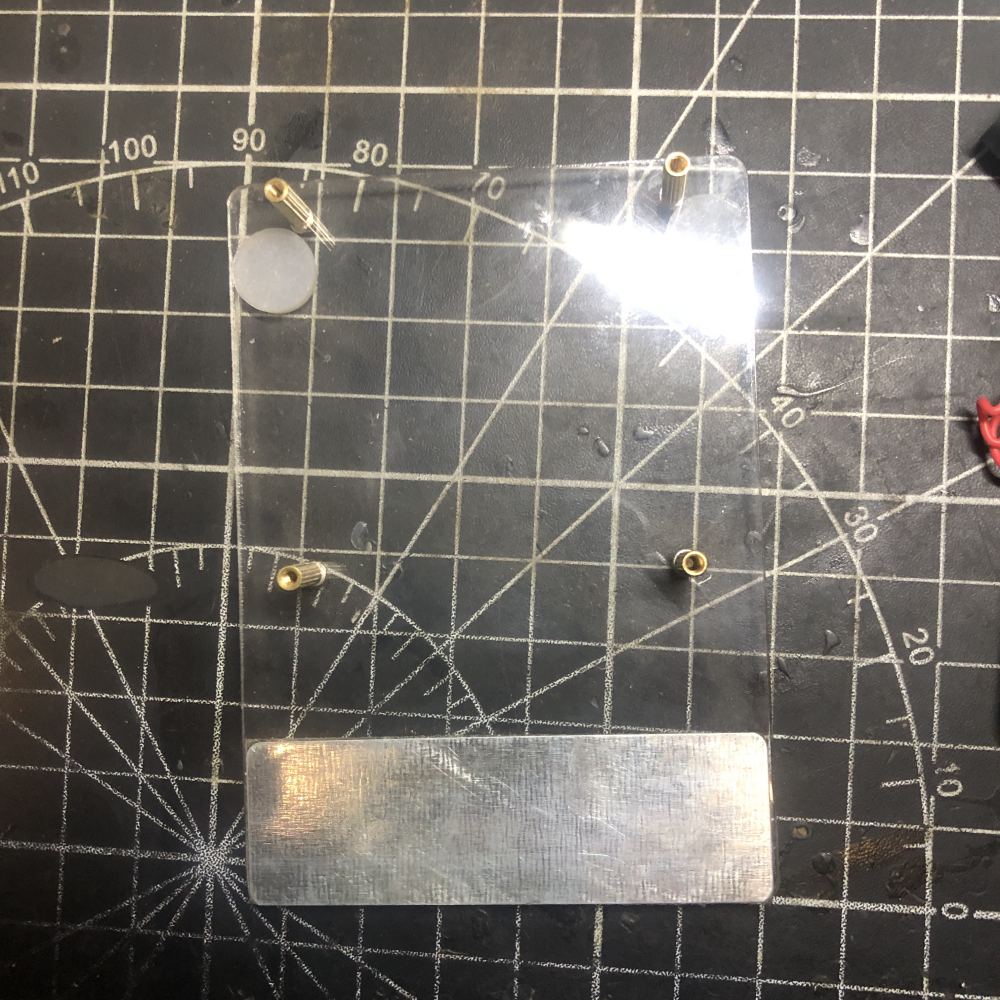
Adhesive metal sheet
Mounting circuit board
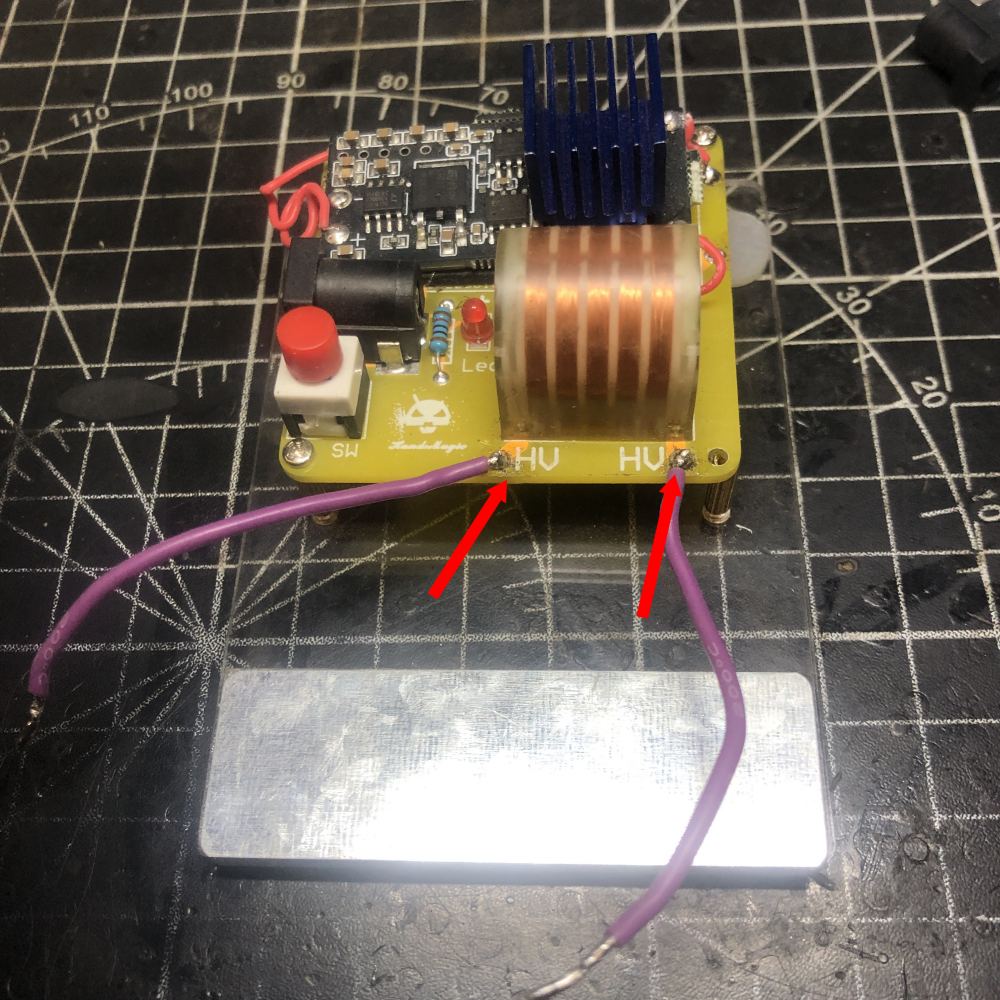
Weld 2 wires
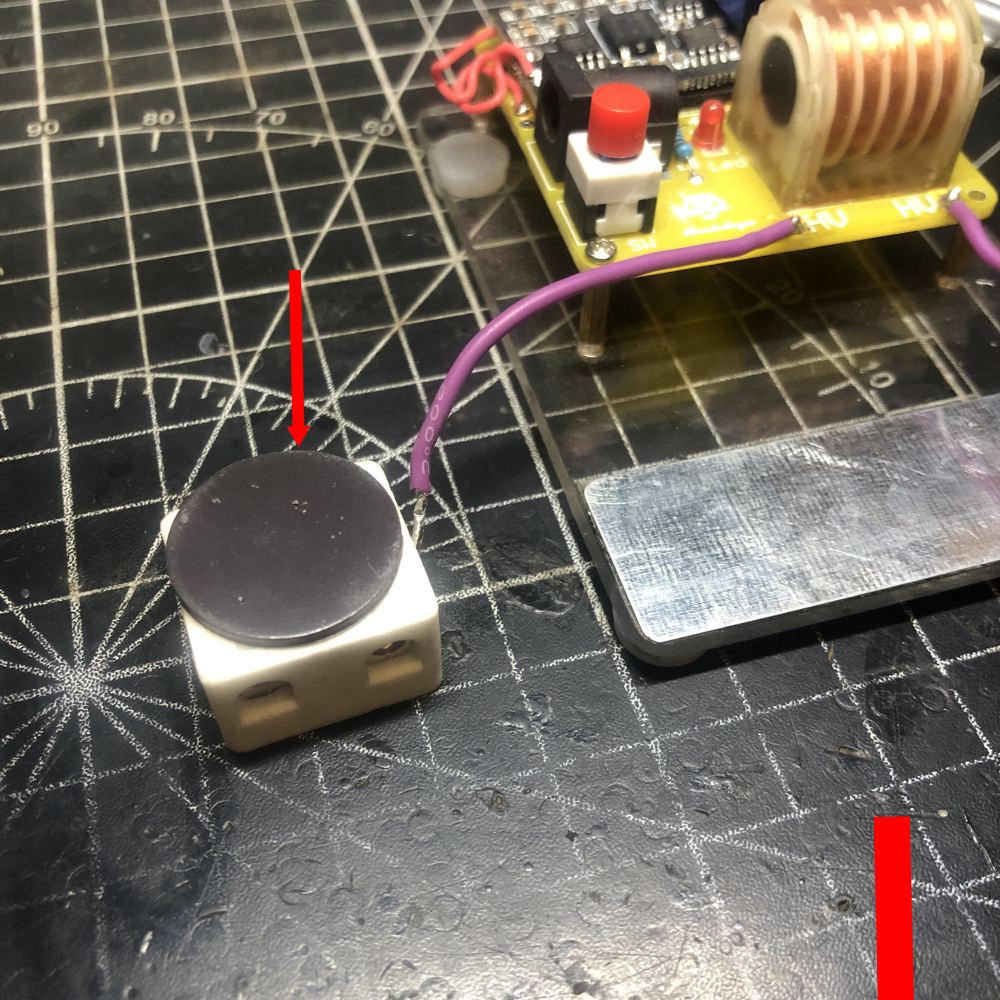
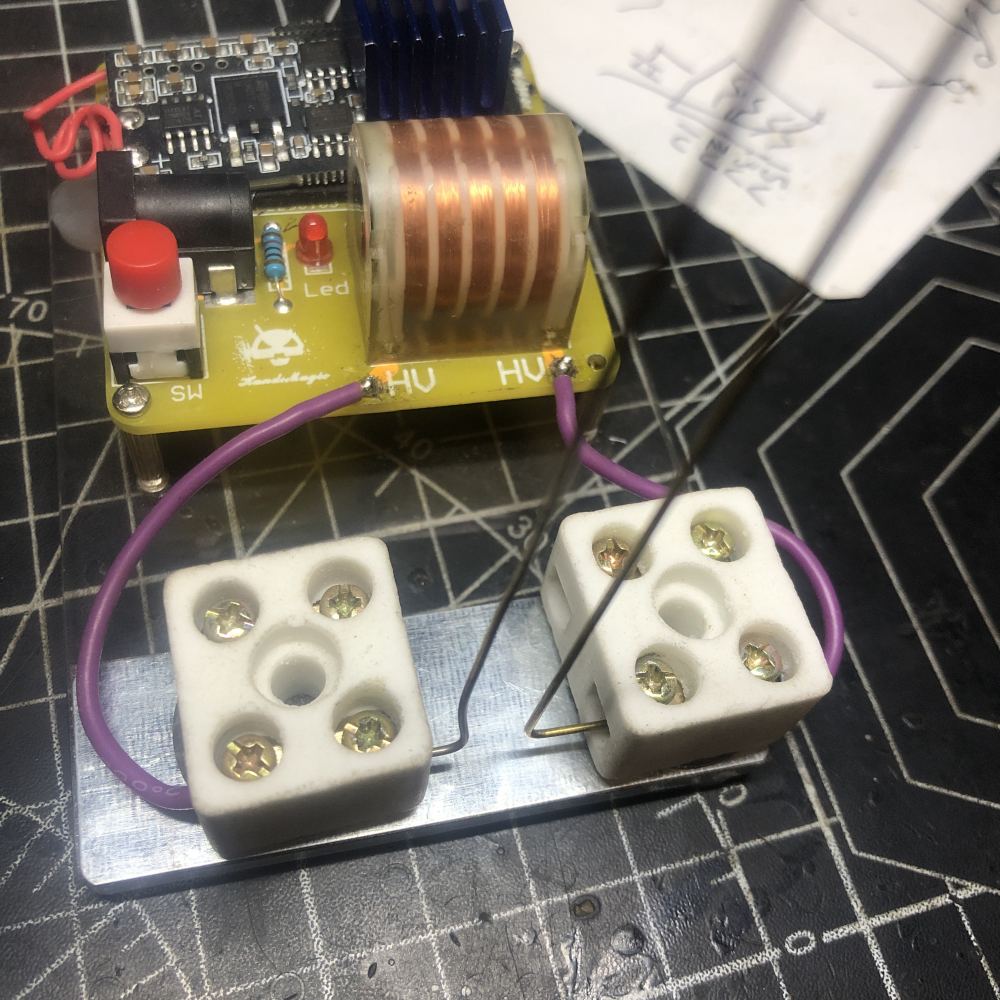
Attach magnets to the back of ceramic blocks
Connect 2 ceramic blocks
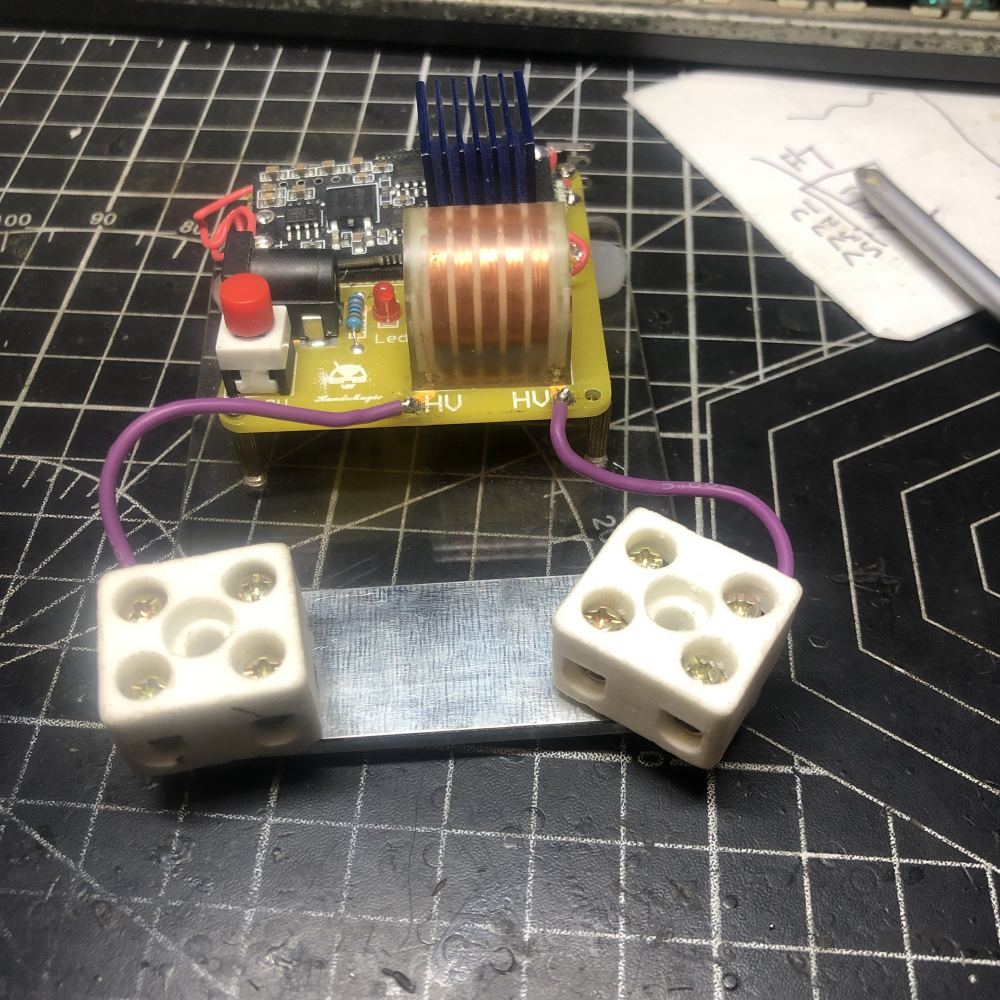
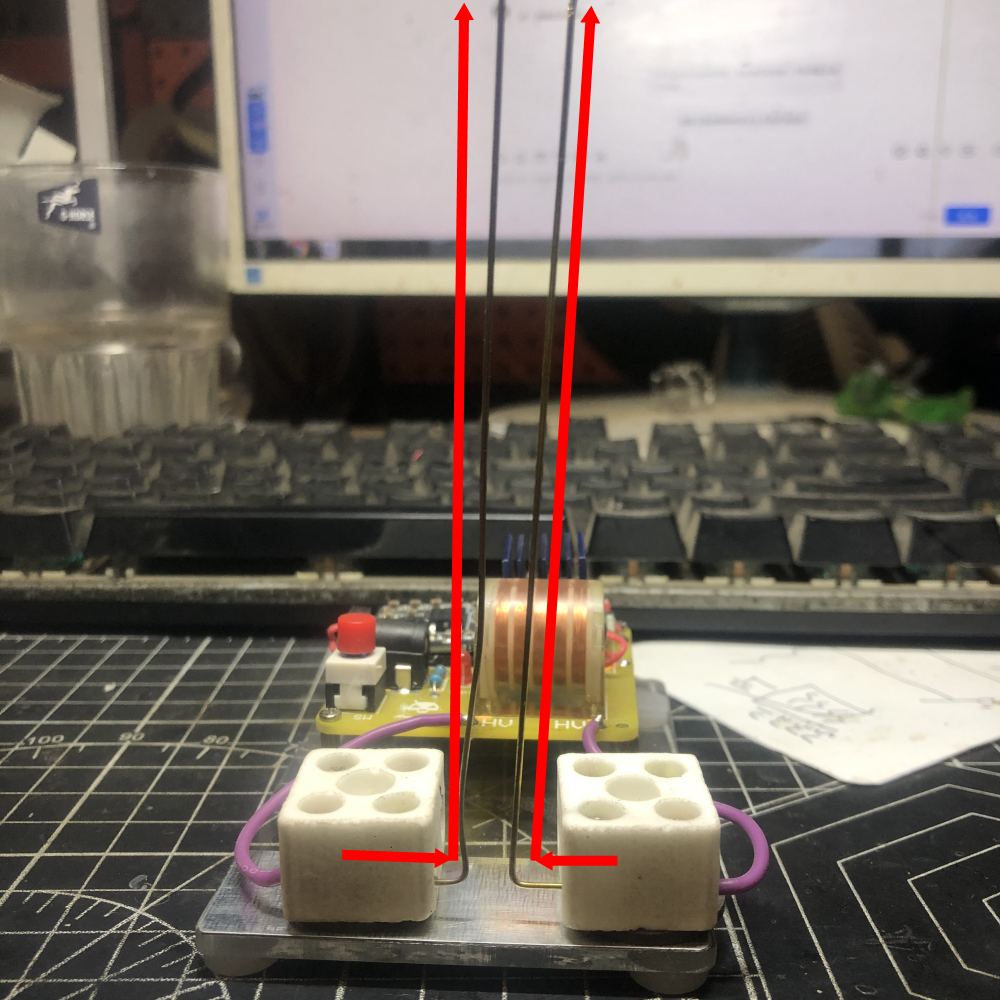
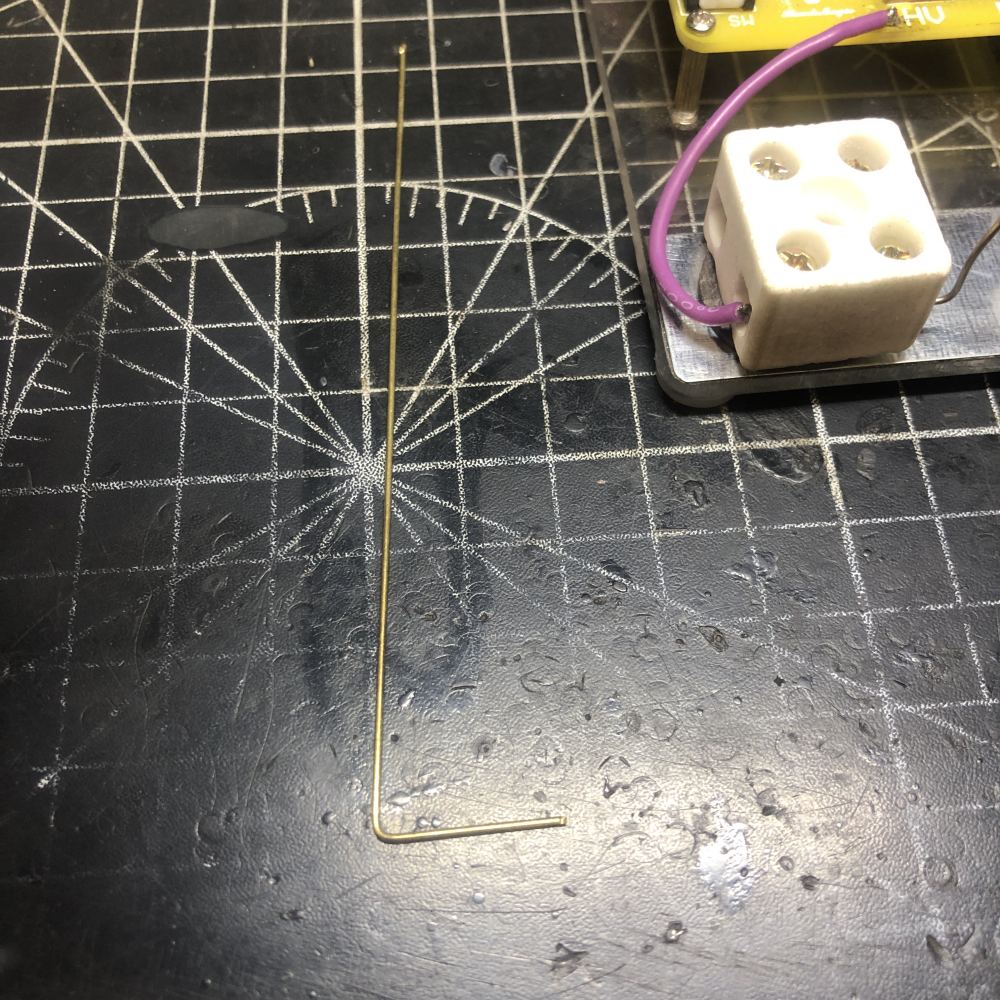
The brass rod is bent as shown in the picture, slightly tilted backward.
Tighten the screws.
Note that the screws may be slightly loose; you can use glue to secure them and prevent them from wobbling.
Adjust the distance and angle yourself so that the electric arc can rise, and your Jacob’s Ladder is complete.