

Mini musical Tesla Coil

Type1 SSTC instruction
3月 15, 2017
Tiny Micro robotics diy parts-Micro gear motor
3月 22, 2017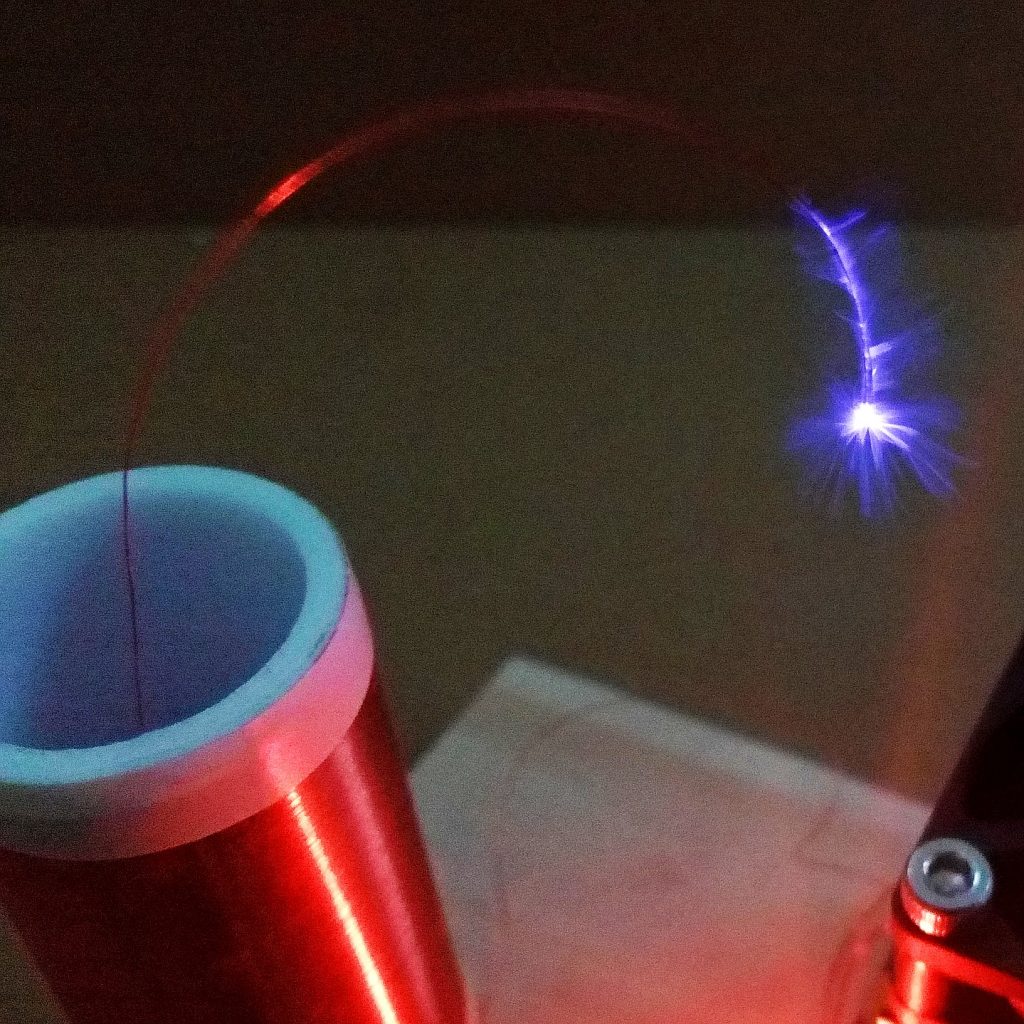
Mini musical Tesla Coil
Intro:
this is another project about the tesla coil,But!we add a music play function .
How it work?
Use the IRF3205 FET to Amplified music signal,Modulation to the current of the Primary coil,so when the spark come out,the music played
OK,let’s start making
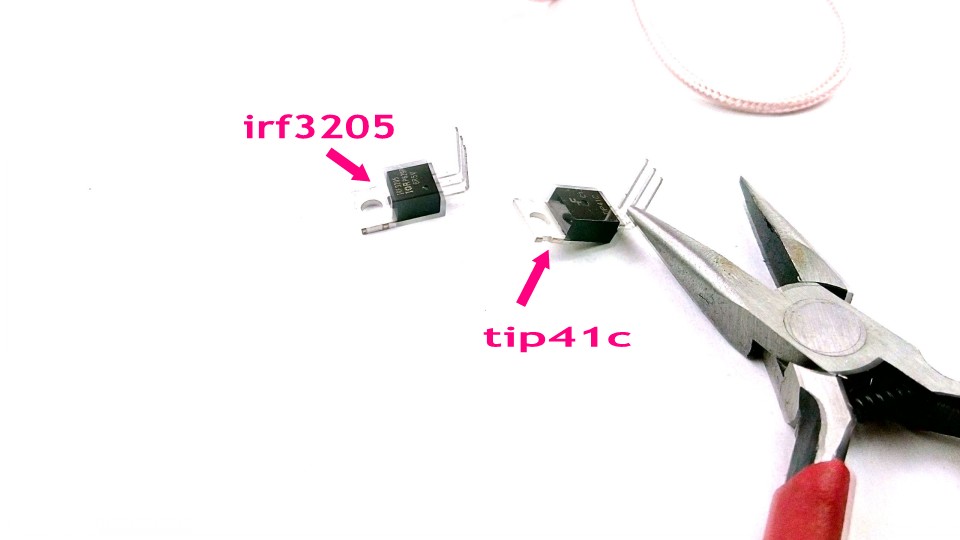
First check what you got in the packet,The following image contains the main parts , see if there is something missing………….

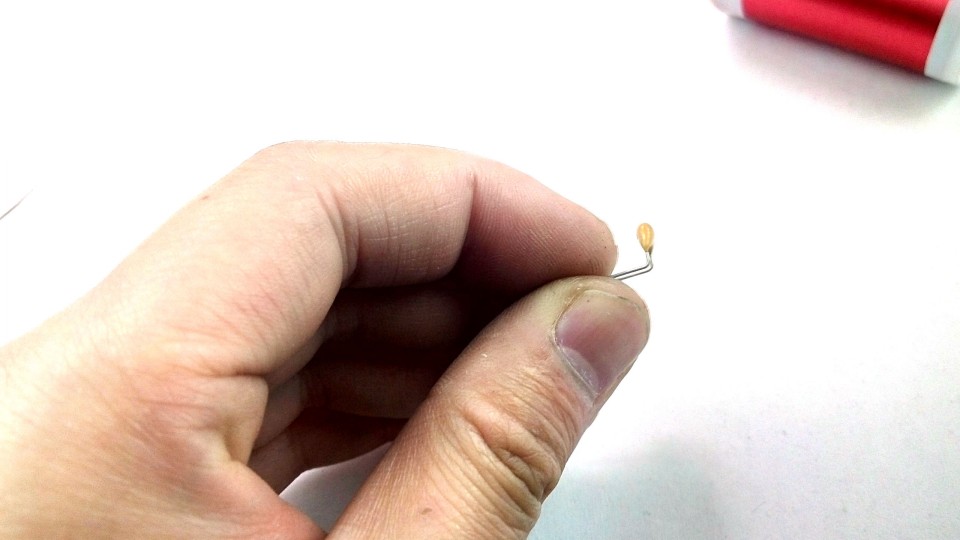
Step1
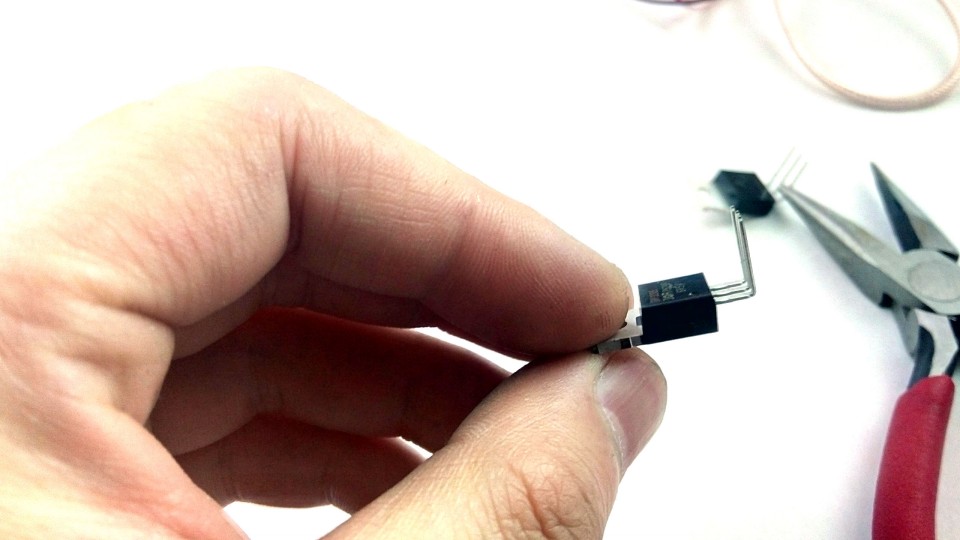
first you need bend the foot to Bent right angle,why do this?see the second pircter you will know


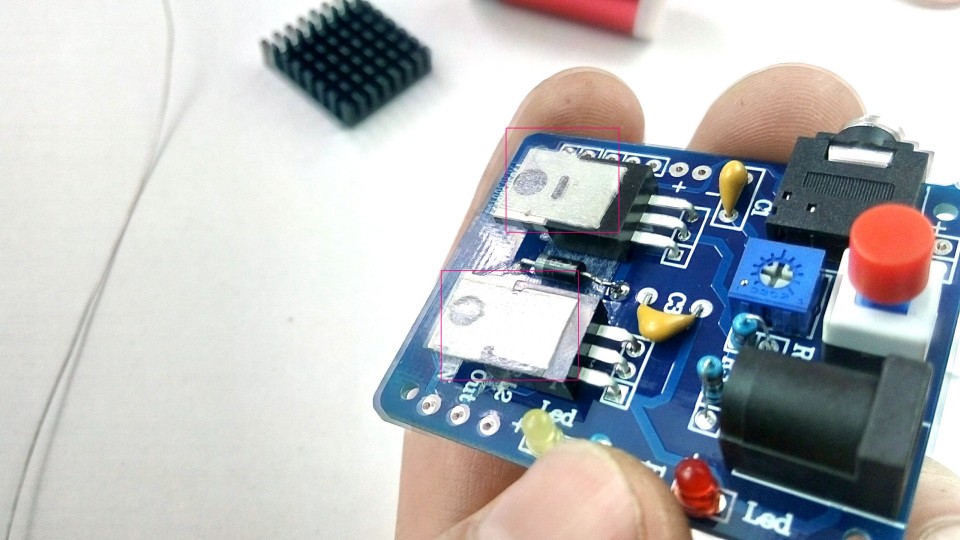
Step2
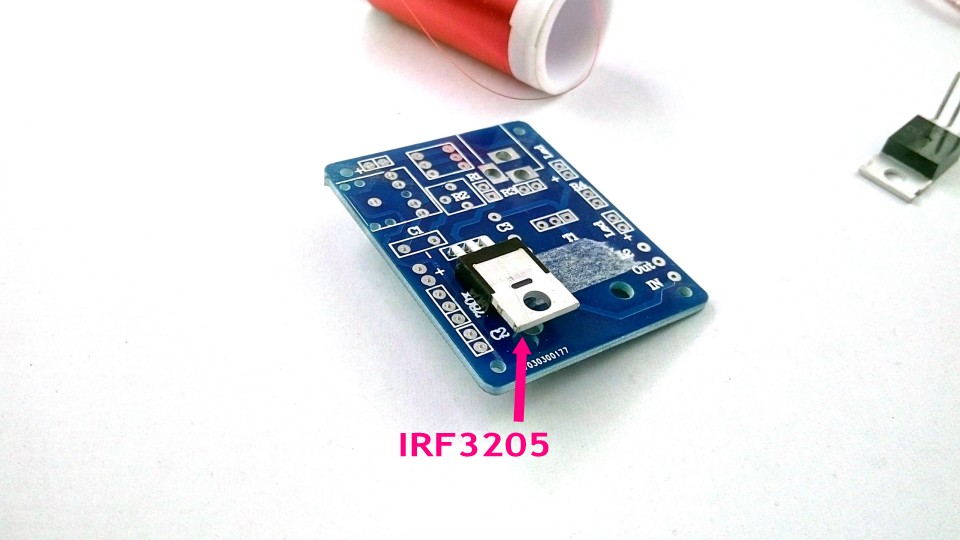
Welding IRF3205,you need make suer that the bottomo side of IRF3205 keep very closed to the PCB
Step3
Welding TIP41c
the tip41c is the main part of the tesla coil,it using The principle of feedback self excitation,drive the tesla coil work


Step4
Diode.need pay attention that the diode Polarity,there is a Line on its body,welding as picture
diode is used for Isolation high voltage of primary coil ,Protection input

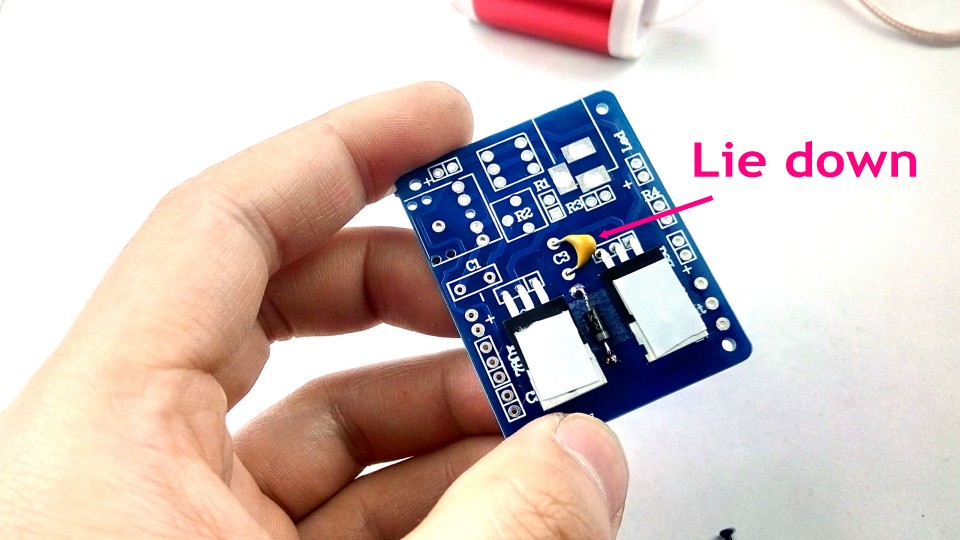
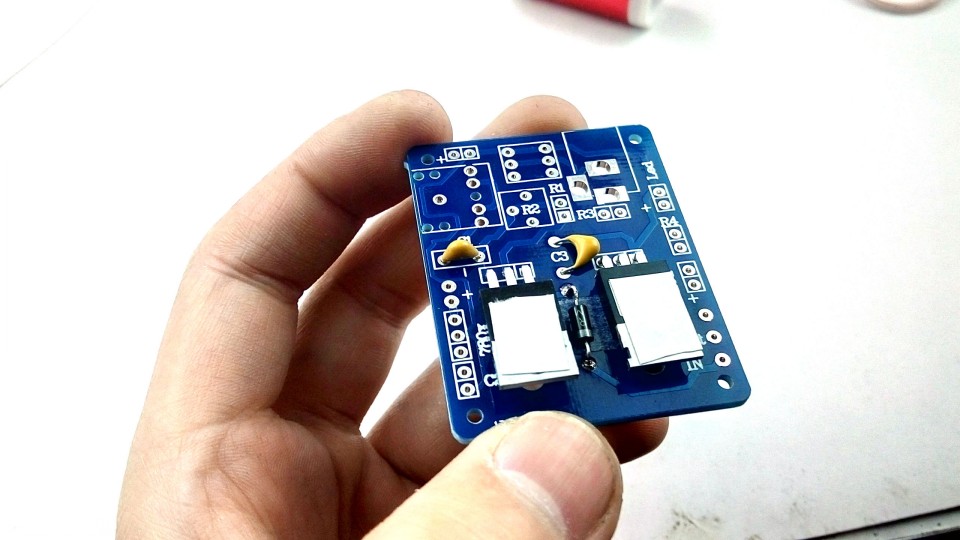
Step5
104 Capacitance
first Cap you need let it Lie down,this is for making space for the Heat sink
the secoun cap is used for the audio input
Step6
20k Adjustable resistance and Audio jack
the resistance is used for Set the potential of the IRF3205 G foot

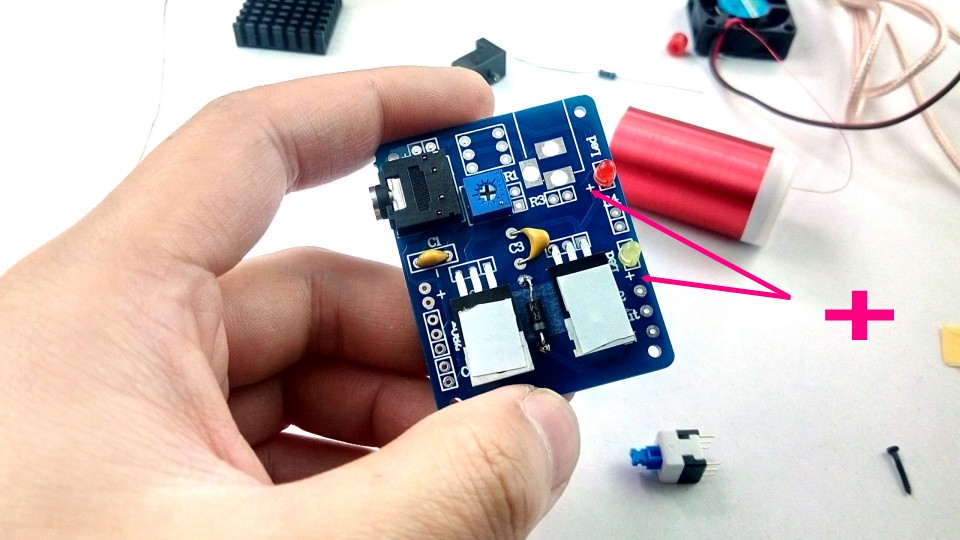
Step7
Led long foot is positive,welding to the mark “+” on the PCB
Step8
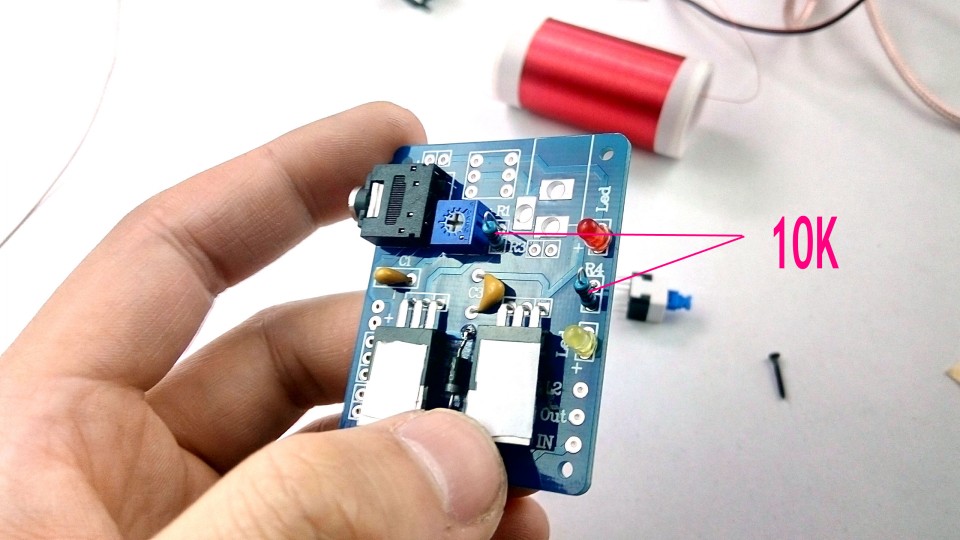
10K and 1k resistance
if you do not know which is 10k,plz use a multimeter or google “Five color ring resistance identification”

1k
this is for the Power indicator LED

Step9
Swich and Power jack


Step10
Heat sink
The heat sink with double-sided adhesive on the chip

Step11
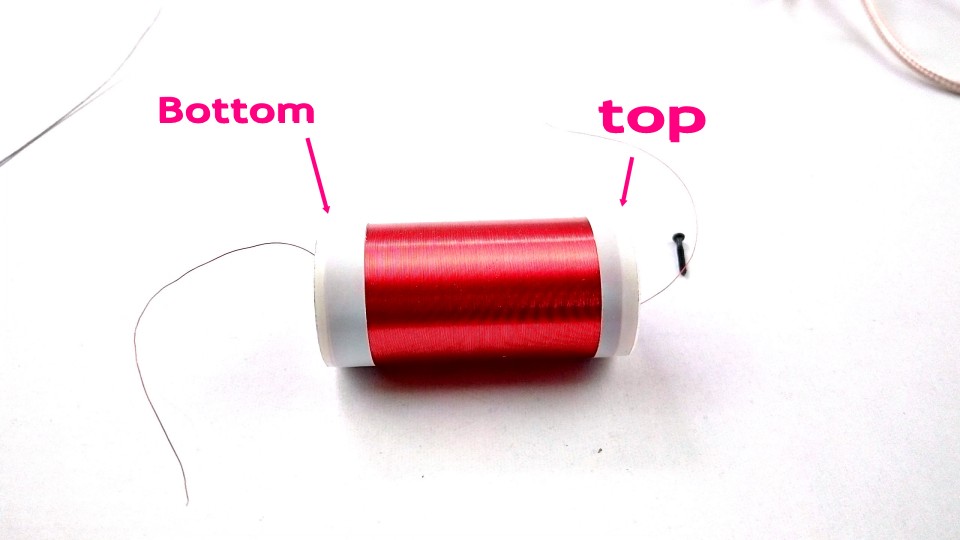
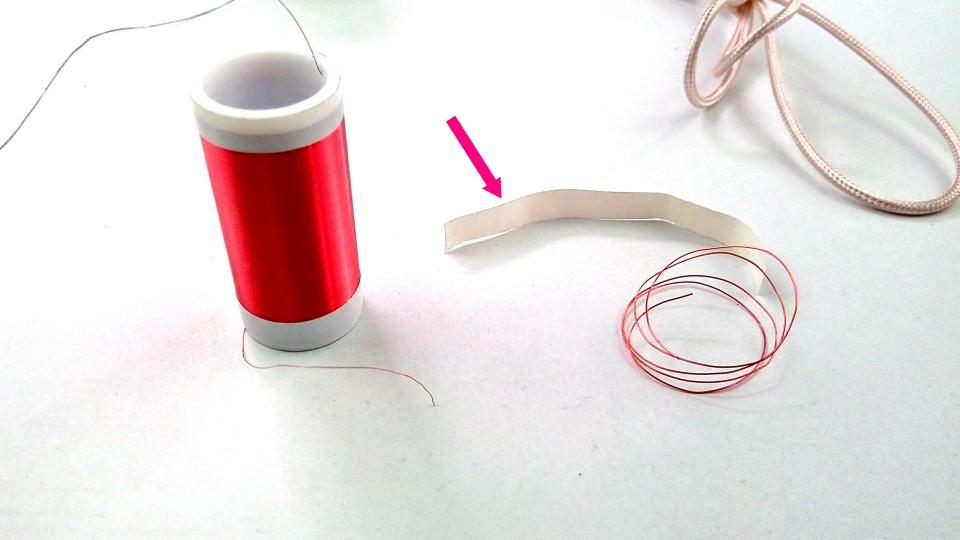
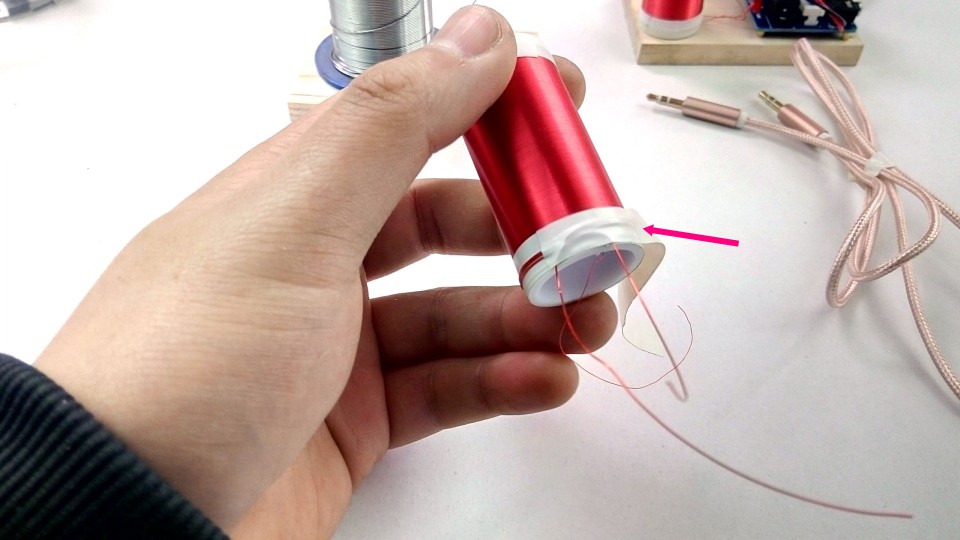
The coil.
first you need Distinguish the Top and bottom,Wider tape is the bottom
Then take of the first layer tape,put it aside and use it later

Step12
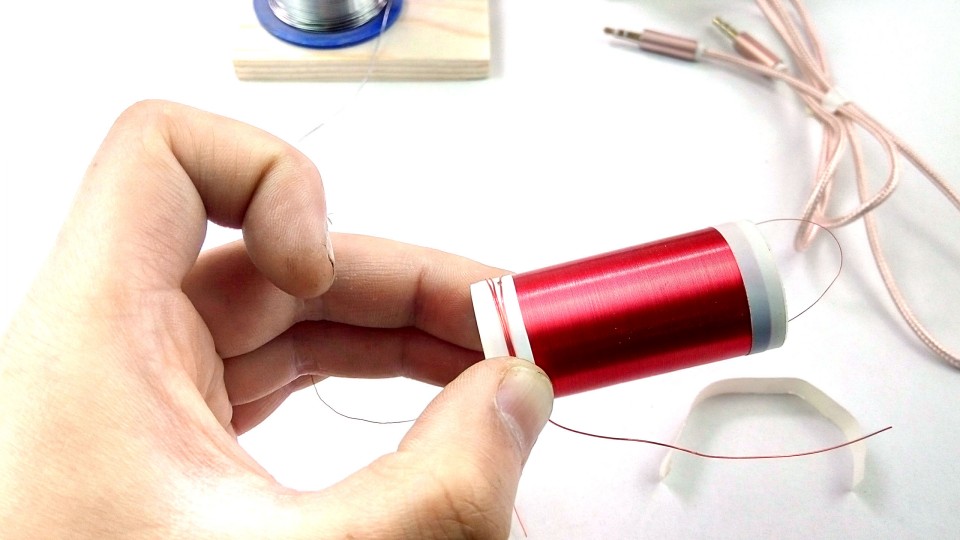
ok,this step maybe the Most difficult,you need Winding Primary coil
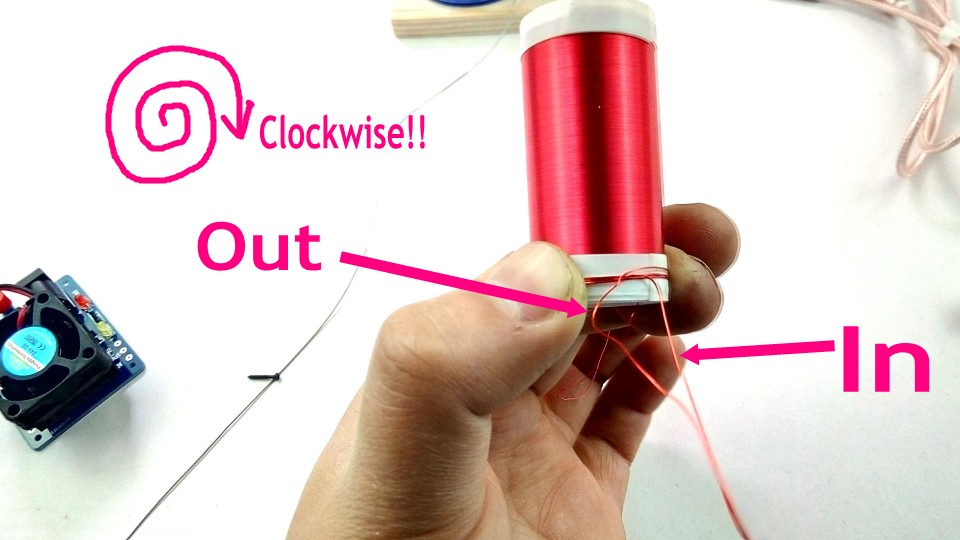
Parameter requirement:
3 rotations
Clockwise
compact
First use one finger hold the wire

then 3 turns,clockwise!
adjustment
Make sure the coil is tight,this is very important,Direct impact spark size,if too loose,Will reduce efficiency
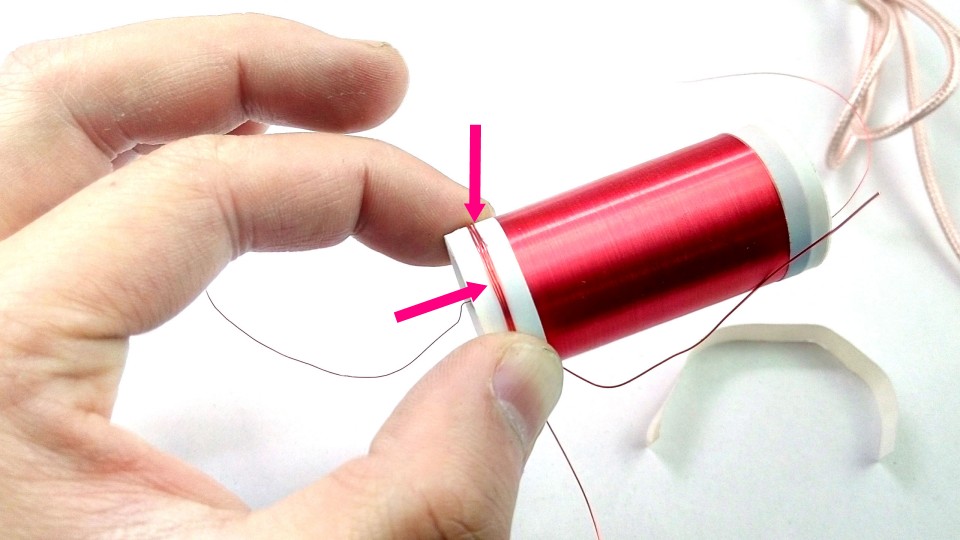
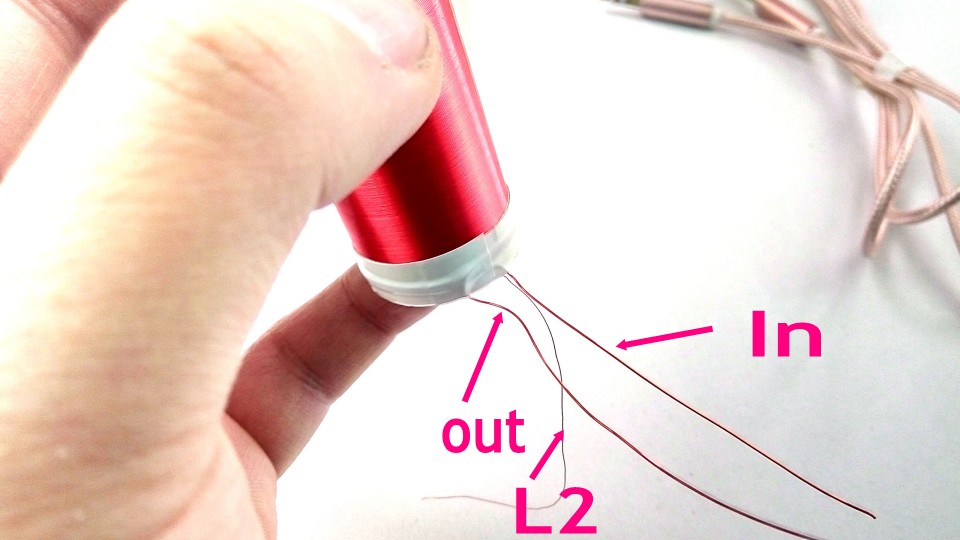
Remember which side is IN.which is OUT
Use the tape that you put aside before
Fixing primary coil with adhesive tape

REMEMBER the IN and OUT side!!!!!!!!!!!!!!!!!!!!!
Step13
before we welding the Secondary coil to PCB,first we need fix the pcb on the wood
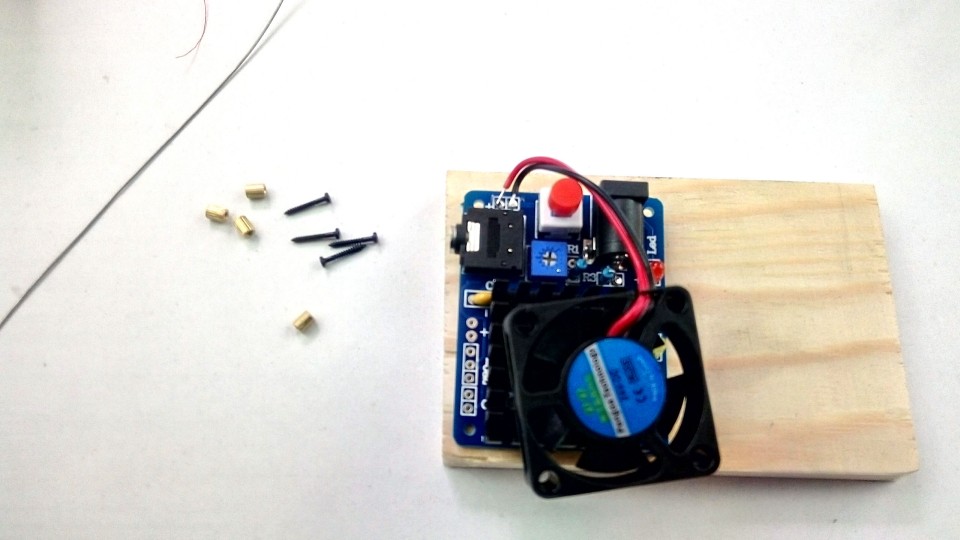
First need to locate in the four hole poke a few pits


diagonal
Screw

Do not tighten all screws at once
Screw the screws when all the screws are set

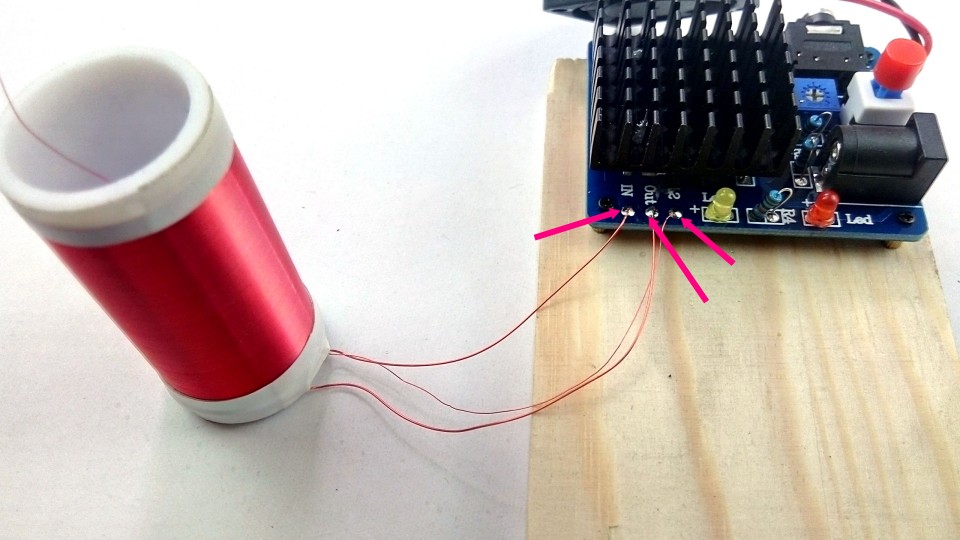
Step14
The smallest wire,welding to L2 on the PCB
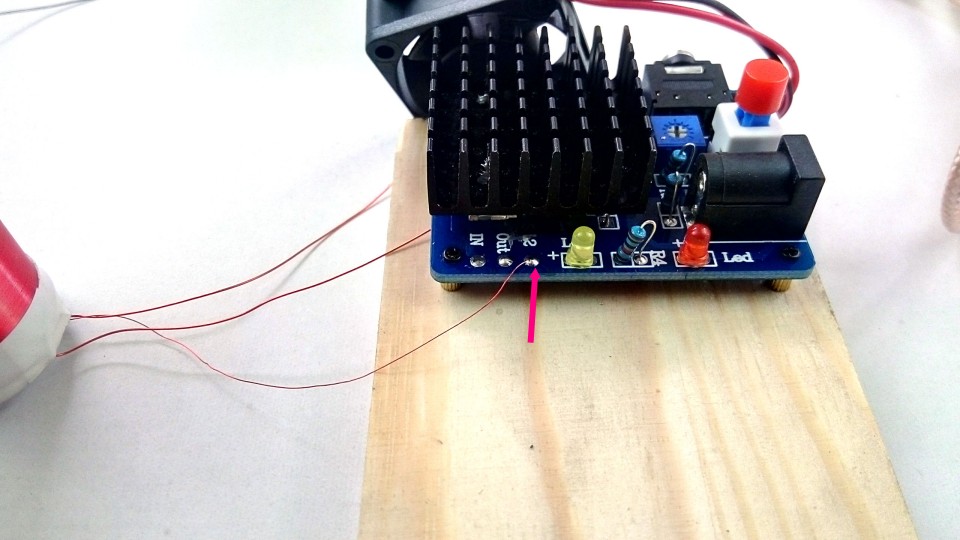
Then the IN and OUT side,I hope you remember them
If you turn the 2 counter, it won’t work, but don’t worry,
Just exchange it
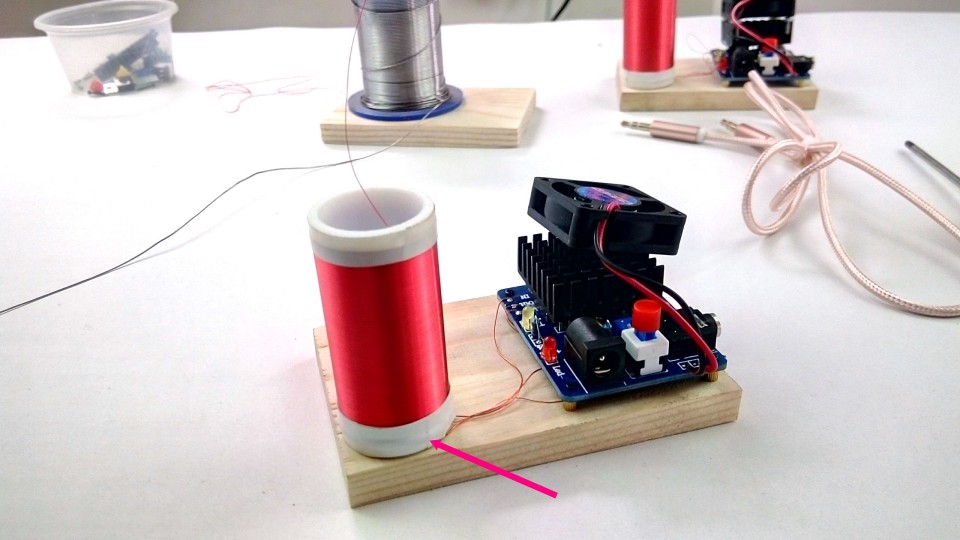
Glue the coil on the wood
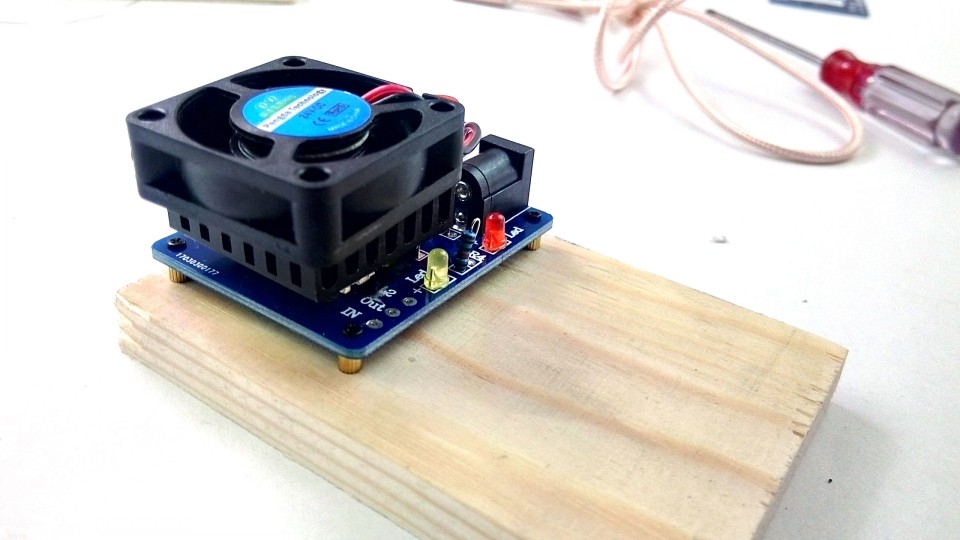
Step15
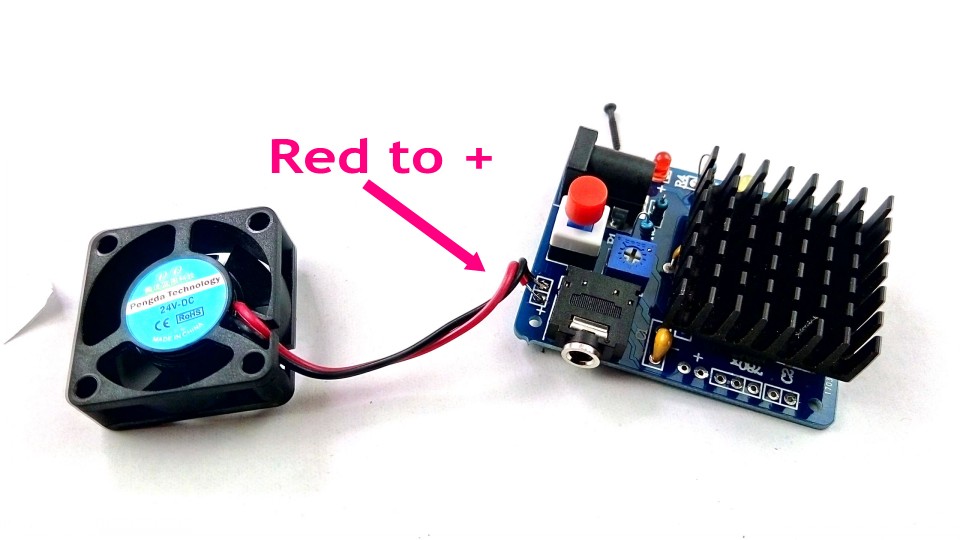
Screw the fan
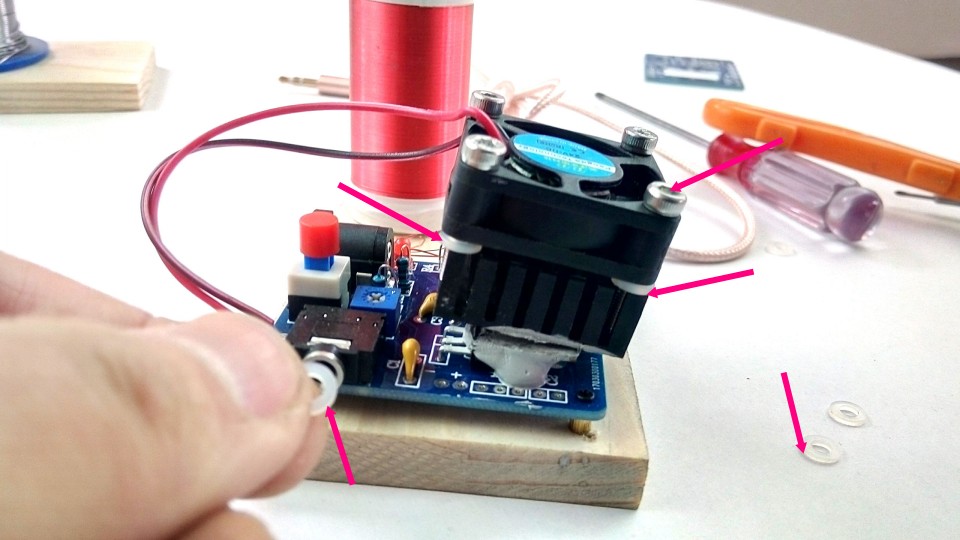
Step16
This need 24v power,so plz find a dc power 24v,current better greater than 1A

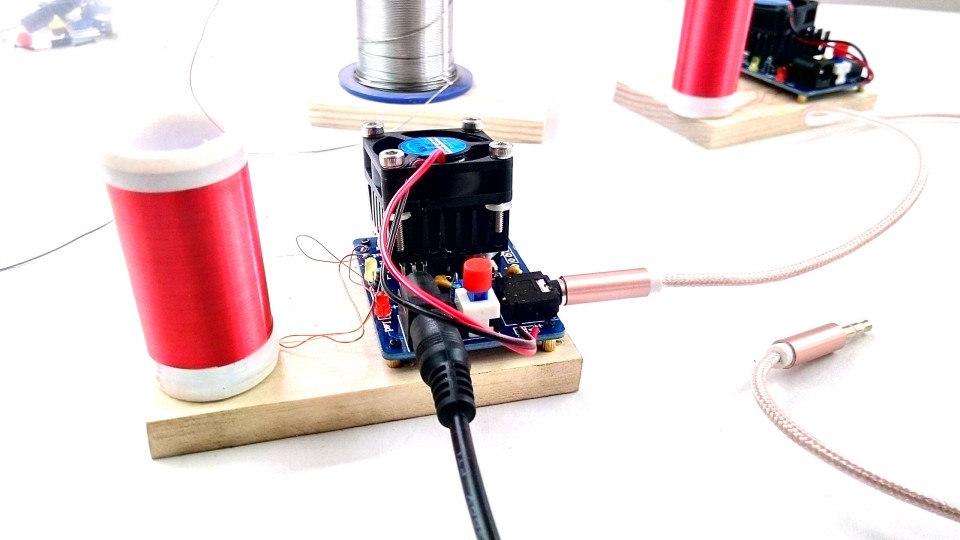
OK,when you finish this,you can click the switch,if all goes right,the spark should come out,then connect the audio wire to your MP3 player or phone,you can enjoy Music………