

How to make a mini mendocino motor?

make a Mini table SGTC tesla coil Spark gap Tesla coil
2月 10, 2018
Diy table spark gap tesla coil -SGTC
5月 23, 2018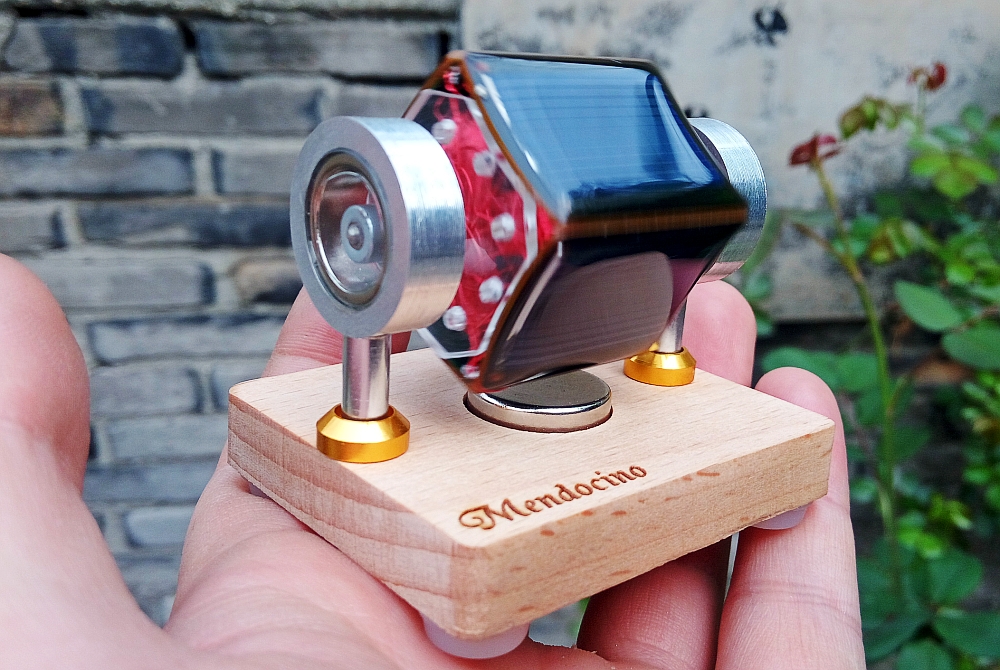
A mendocino made for Vicky
warning!
The magnet is fragile!
Don’t let it collide with anything!
!!!!!!!!!!!!!!!!!!!!!!!!!!!!!!!!!!!!!!!!!!!!!!!
we have many kind of mendocino motor
like this

like this
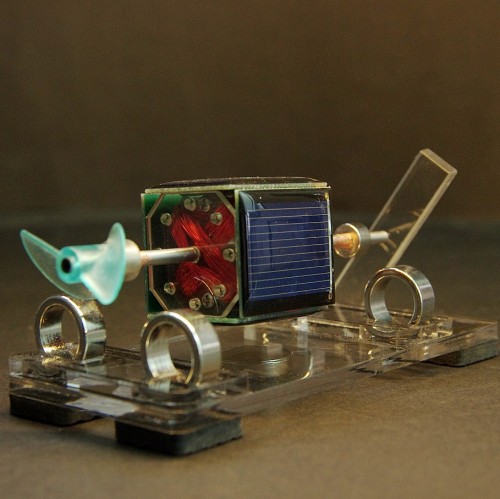
They look very interesting, four magnets suspended the rotor in the air,
But there is a disadvantage,
That is, if you want to put it in the car to decorate, it will fall off during driving.
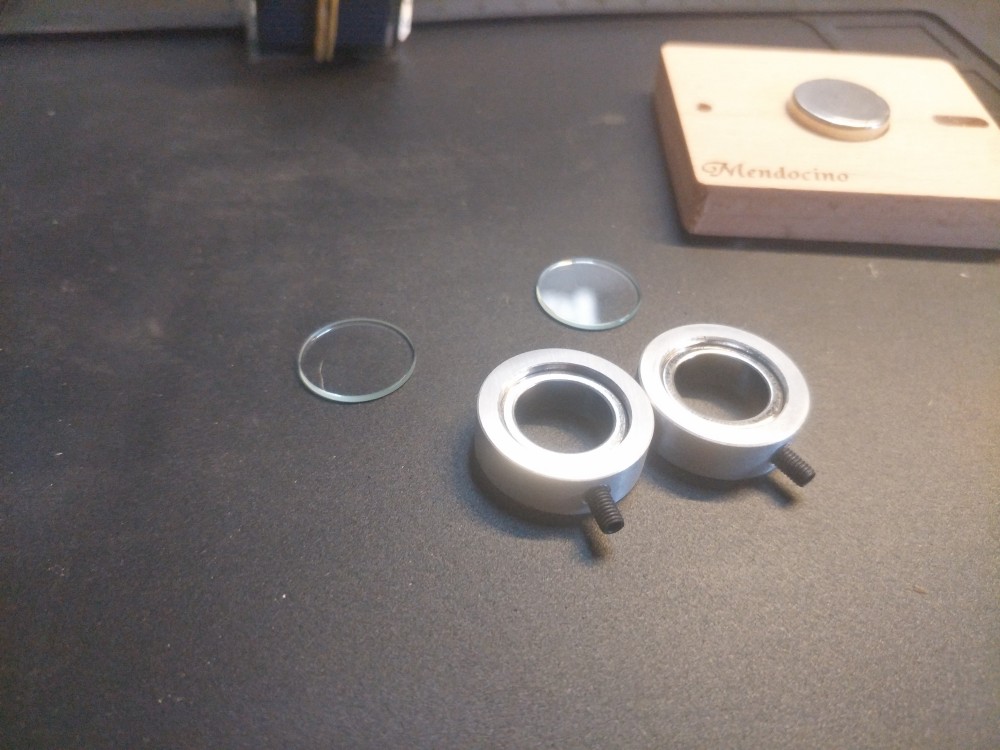
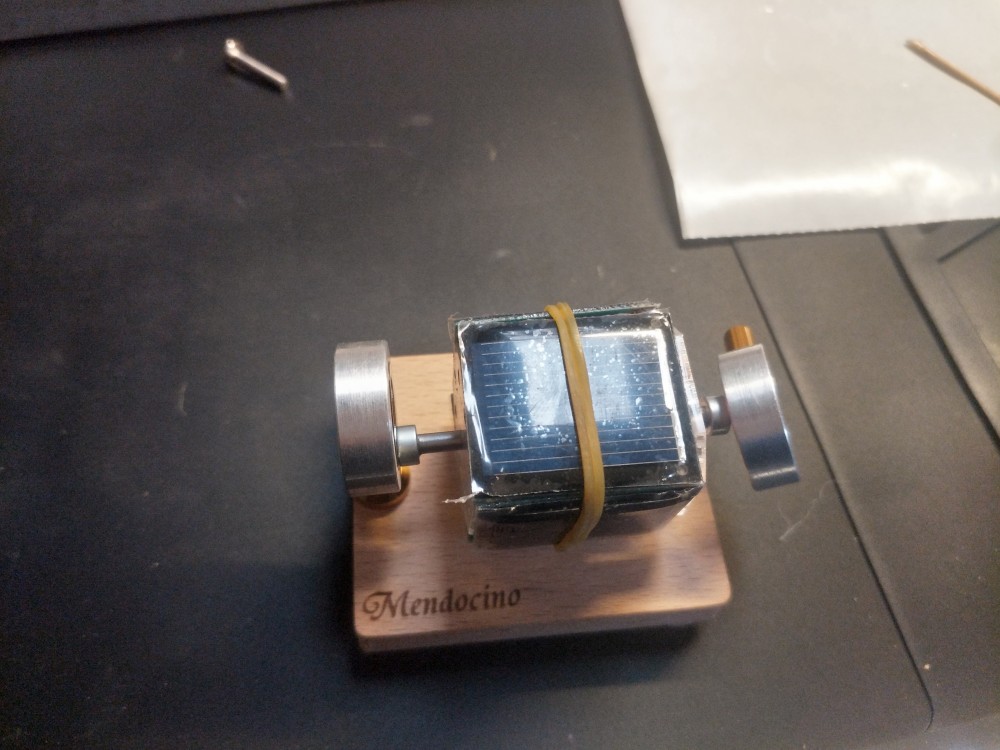
so we design a new type mendocino motor.Look below

It uses two ring magnets to suspend the small magnets in the middle, and uses two glass lenses to make the limit, so that it will not fall. The center coil is wound with 260 turns of 0.14mm enameled wire, and the conventional one is wound 100 times. It can also be rotated in the case of weak light, and does not require direct sunlight.
The above is the characteristics of this product, then we will start to introduce how to make…..
Please watch the video first
Learn roughly what to do,More detailed steps and some important points to note Please read the following article
The following details how to make
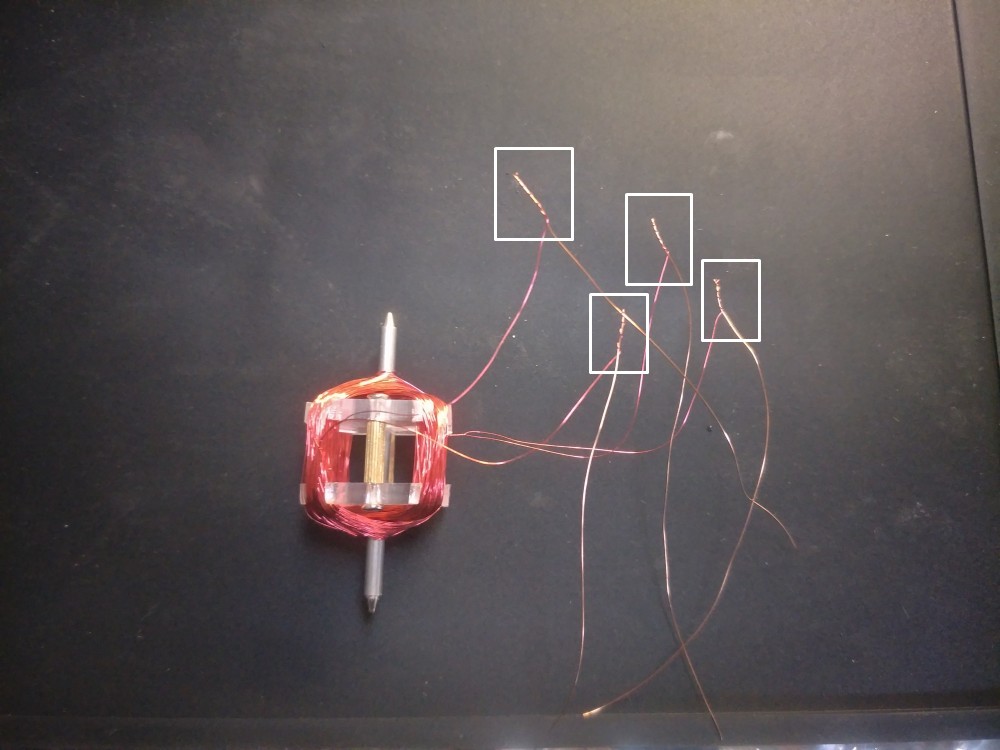
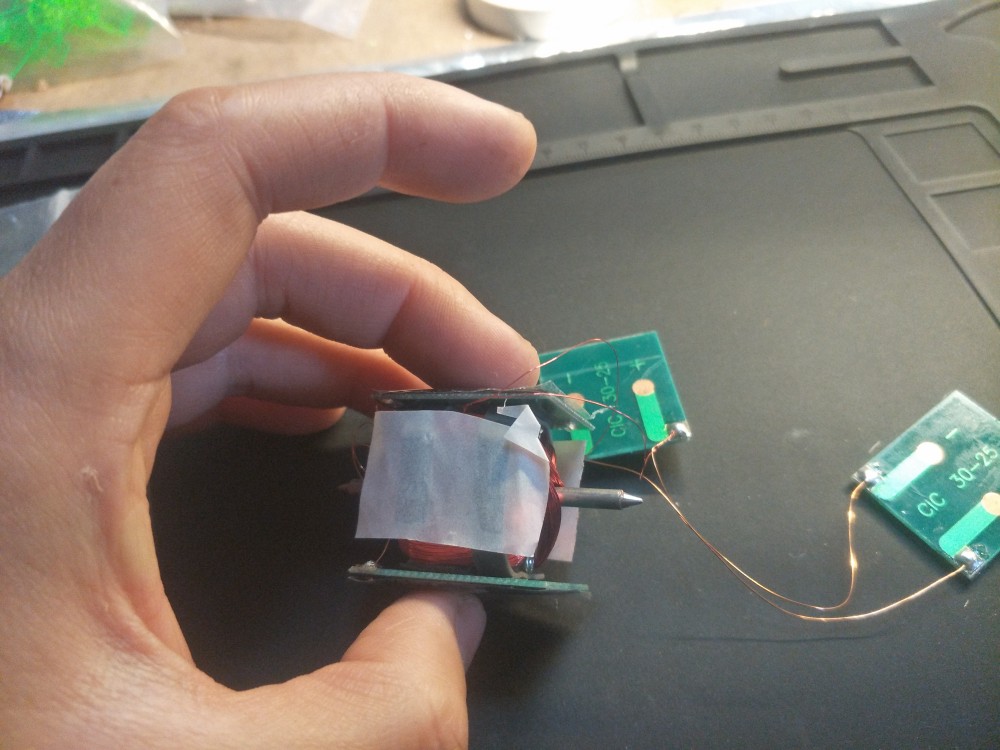
first the coil
Need to connect 4 wires

The following wiring diagram describes the basic principles, please look carefully
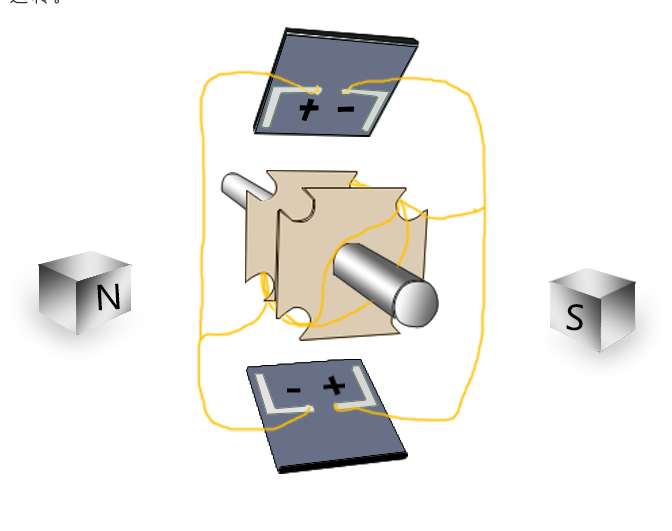

Since the width of the solar panel is 25mm and the width of the acrylic in the middle is 24mm, we use a double-sided 3m adhesive with a thickness of 0.5mm, which just fills the gap.
and plz note the A B C D
first need fix A and B,do not fix C and D

Mendocino can be rotated smoothly according to the specific winding and wiring. If we consider this factor from the beginning, it will be very inconvenient to make, because you will forget the wires’s order because they all look the same. , so we completely ignore the winding and determine the position of c and d by experiment.
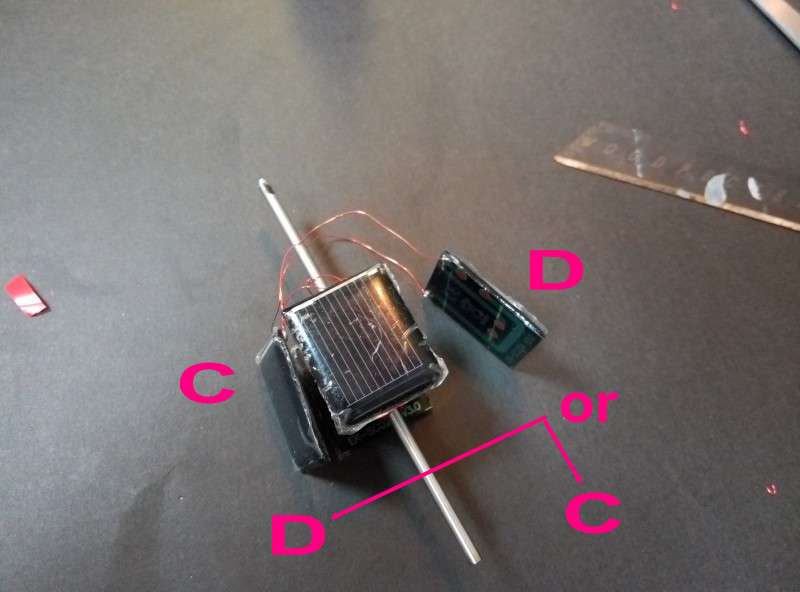
so do not fix C and D
Since c and d are separated by tape, tie it with rubber bands.

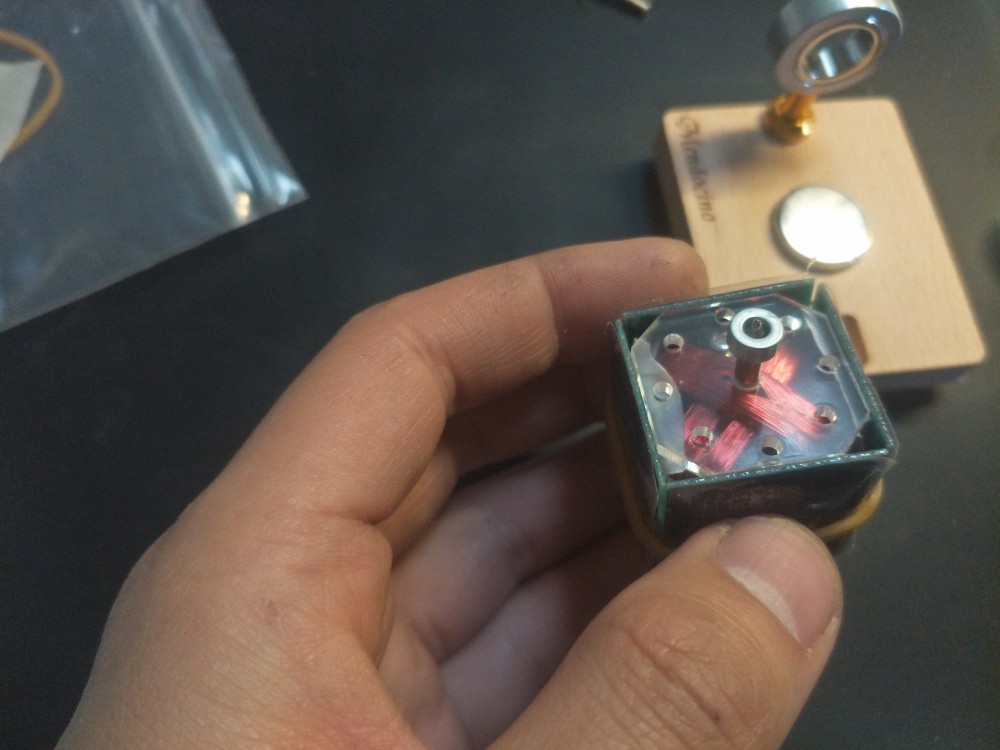
The top is Made with a ballpoint pen,and fix with glue,so Can’t let it be squeezed in the axial direction,Especially when this acrylic sheet is tight
If you accidentally put the top into the shaft, don’t worry, go find a ballpoint pen and replace it.
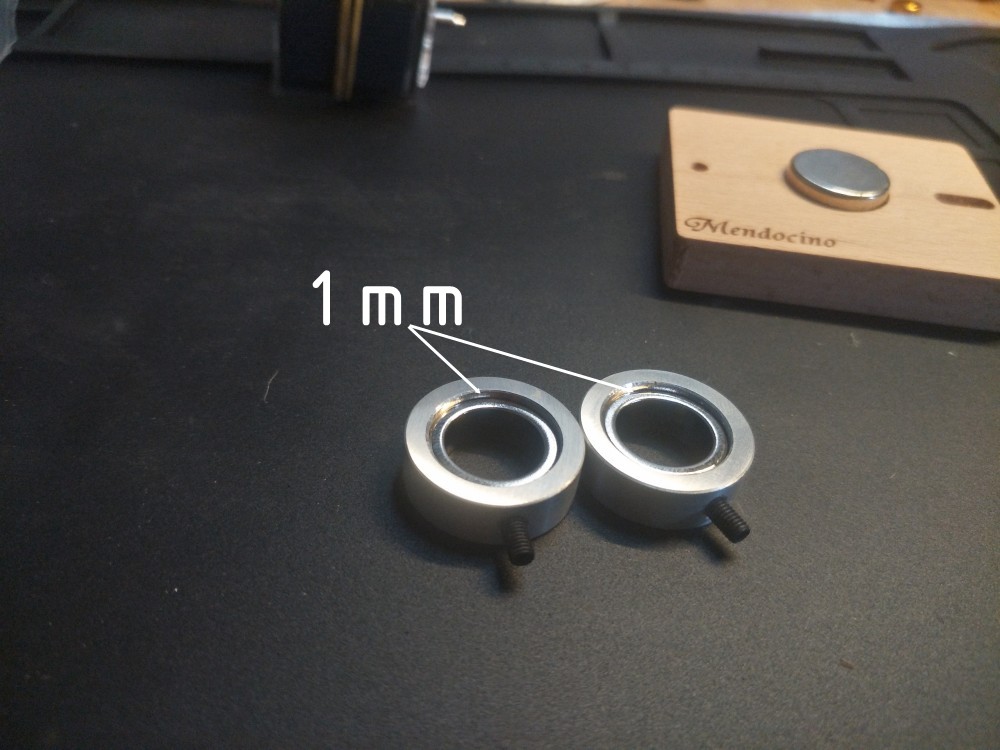
The magnet is 1mm from the top, leaving room for the glass
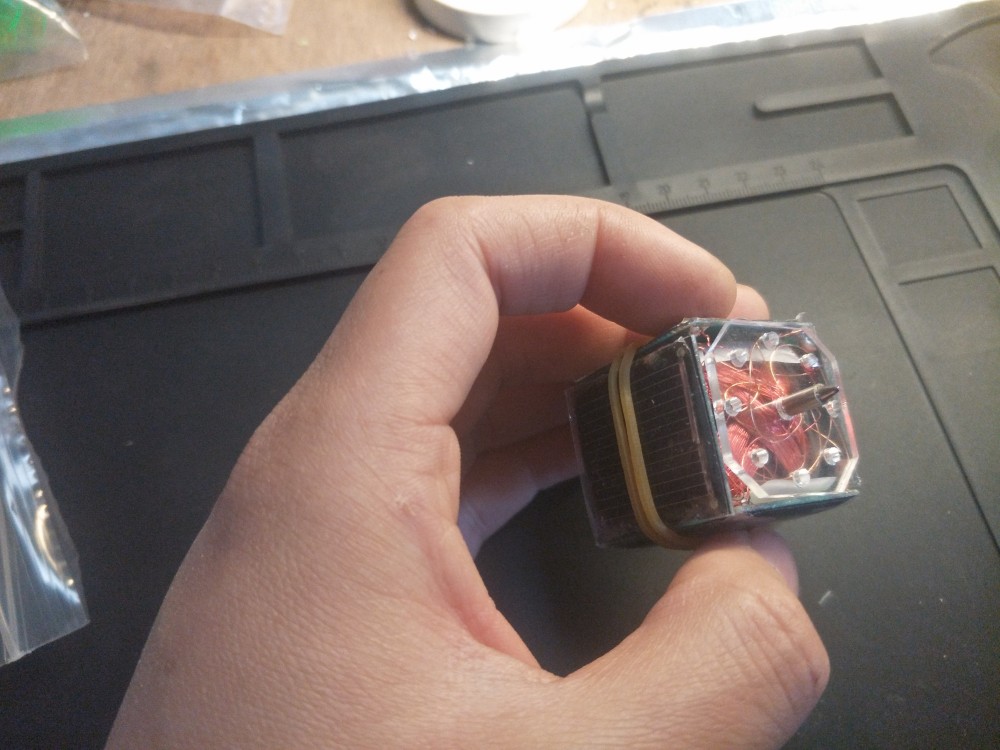
For the sake of beauty, we use UV shadowless glue
Looks transparent

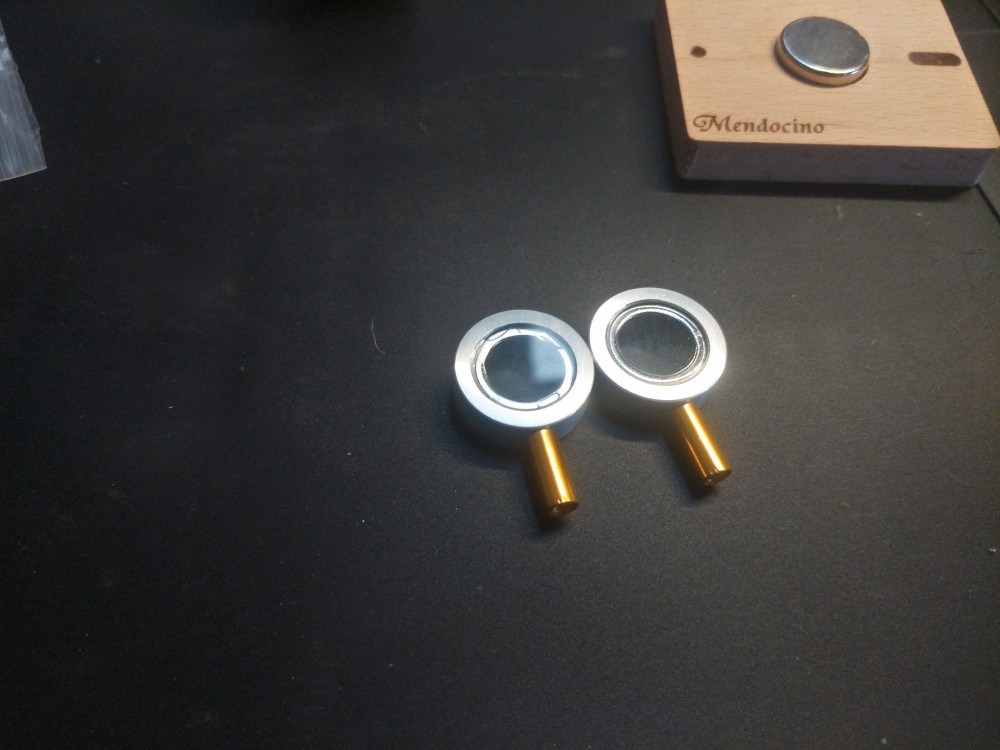
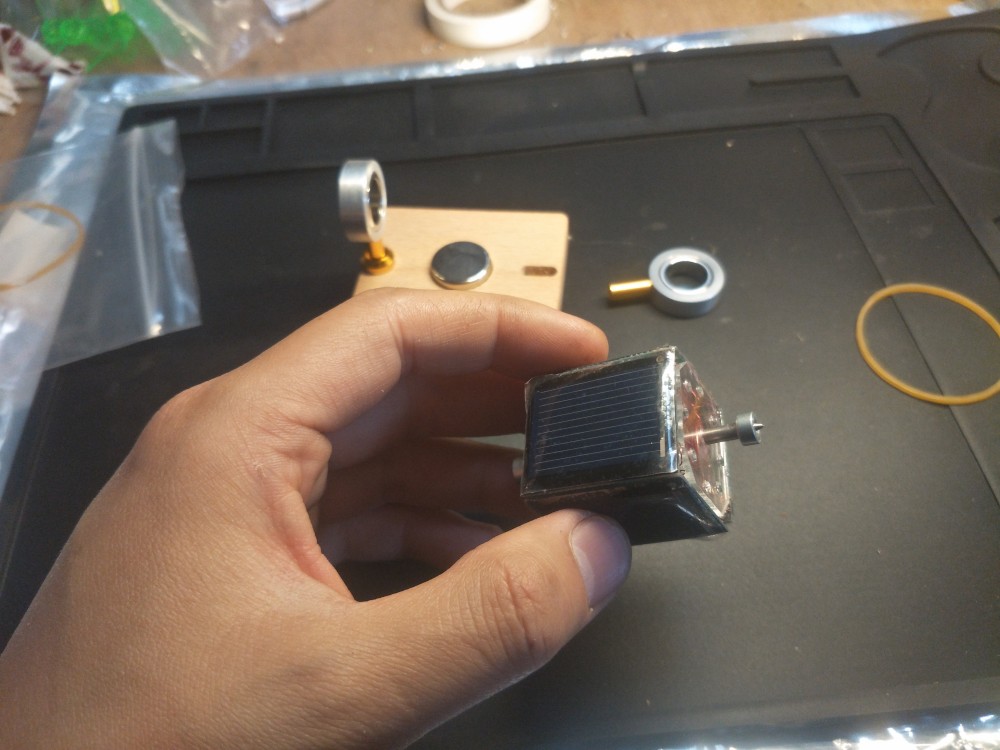
The bottom


In packet,there are total 4 small magnets
2 magnets are spare, because this magnet is fragile, so 2 more in case accidentally broken

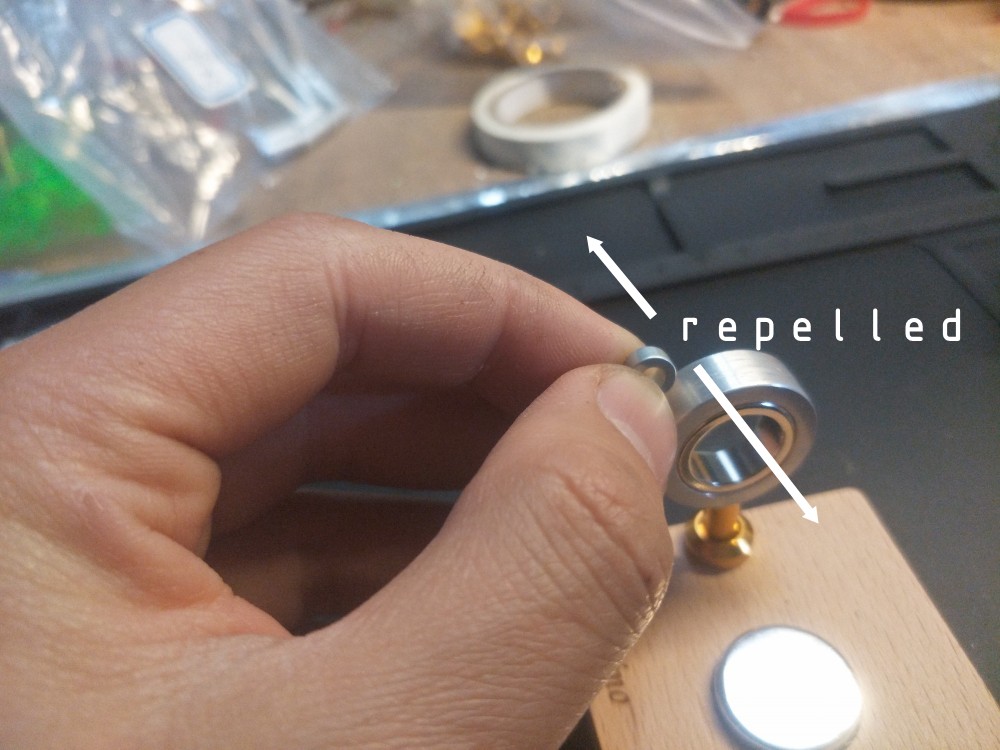
Need to install in the right direction, rejection!
Both sides are like this
Fast-drying glue, the top is beyond 1-1.5mm

Ok,let start Determine the position of c and d by experiment
First find an incandescent lamp, if you don’t want to wait for the sun
Can’t use led, fluorescent lights,
Only use incandescent lamps!
Do not wait it rotate,it wont,Poking with fingers,
See if there’s any sign of accelerated rotation
If there is, the position of C and D is determined, if not
Reverse direction, continue to observe
if still not
Change the direction of the light
do this again
Poking with fingers,
See if there’s any sign of accelerated rotation
If there is, the position of C and D is determined, if not
Reverse direction, continue to observe
After you try this,still not Accelerated rotation was observed,that is mean the C and D need exchange
so let us do this
change the position of C and D
When you determine the location of c and d, you can fix them.
Need a gasket here to avoid deforming the wood

Finally!ALL!DONE!

2 评论
Really not good explained.
The video are also too fast.
I think its better to re-write all again.
after the vedio,there is step by step,read them?