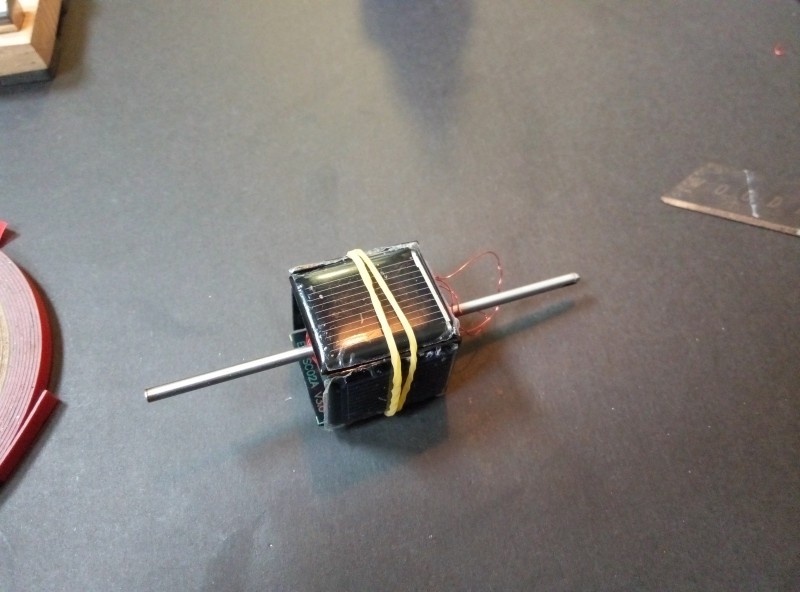
solar motor type1
diy solarbug solarbeam type2
10月 25, 2017
DIY mini Mendocino motor magnetic suspension
11月 14, 2017This is a Mendocino motor project
what is Mendocino motor?
Click to WIKI
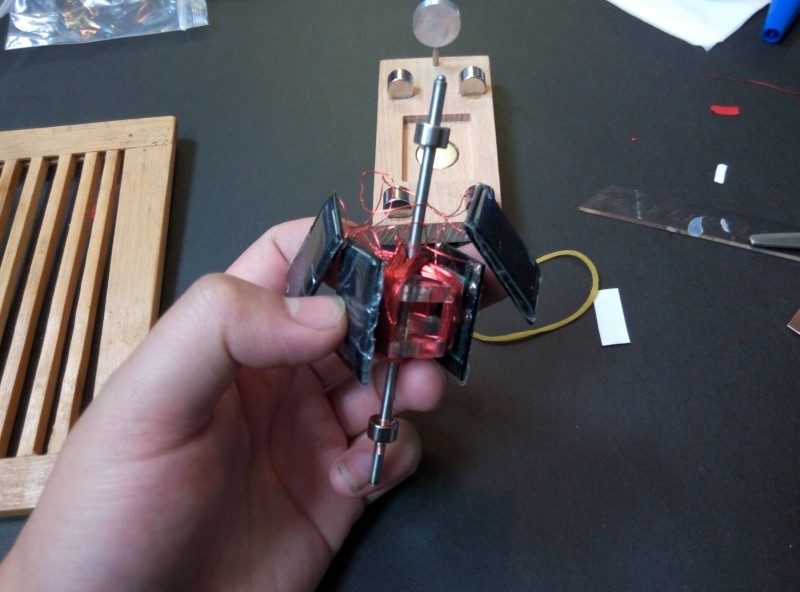
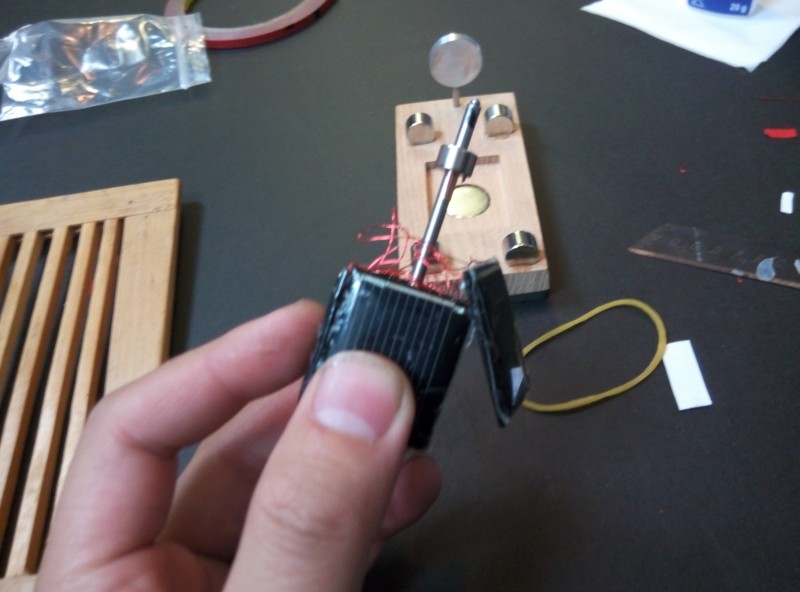
This little project we use We use four magnets to suspend the rotor in the air,Four solar panels,Produce electricity(each produce about 160ma,0.5v) under sunlight,Current through coil,Rotating in a magnetic field
The principle is simple, that is, the electric current passes through the coil, and the coil is subjected to the action of the magnetic field,By means of a specific winding method,then rotate
Can’t wait to know how to make it? Let’s get started!
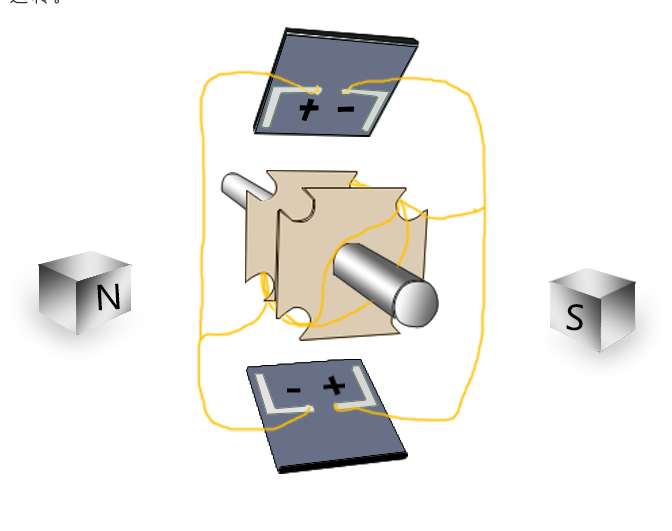
first remember this
the picture above tell you the Basic principle,Think seriously,Although a lot of Mendocino motor shape is different, but it is the same principle
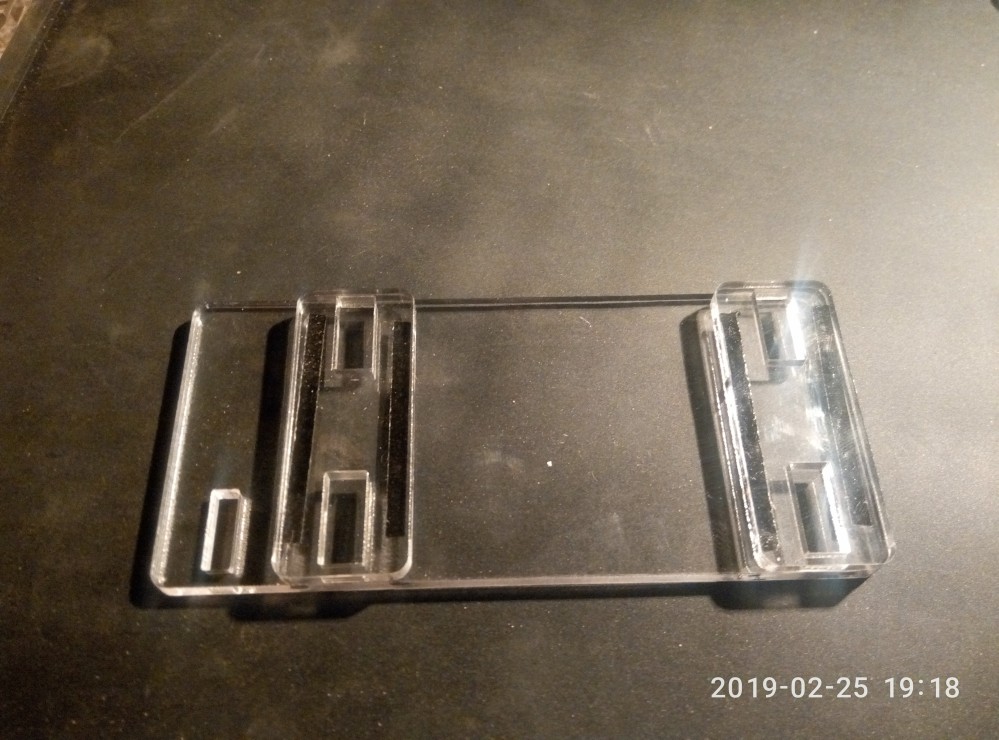
first we start make the bottom
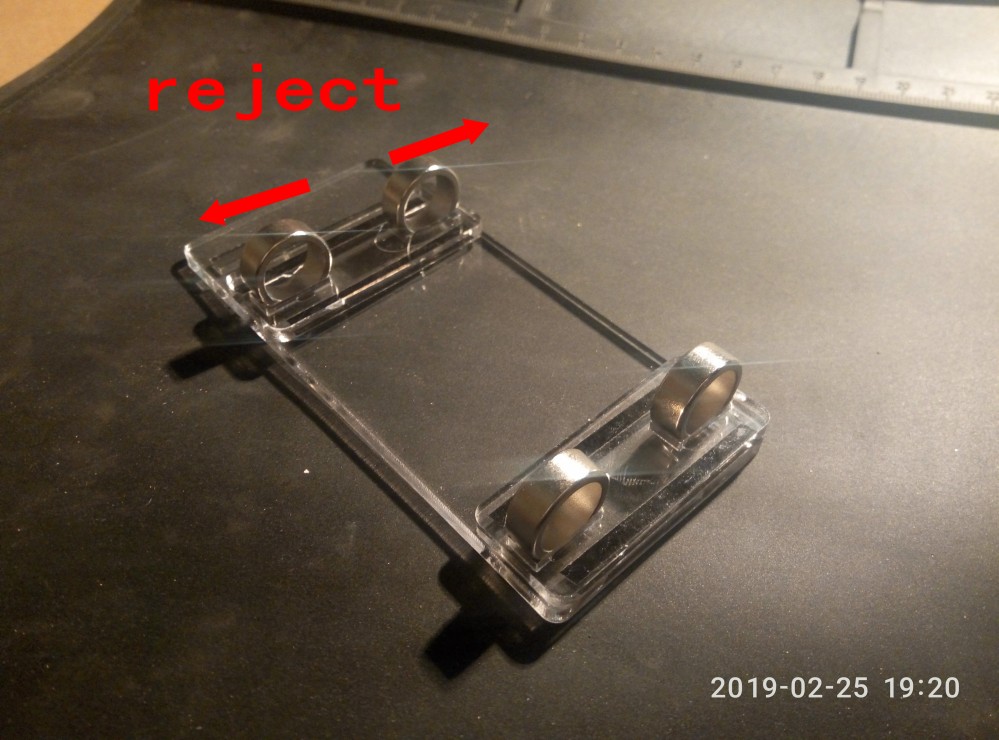
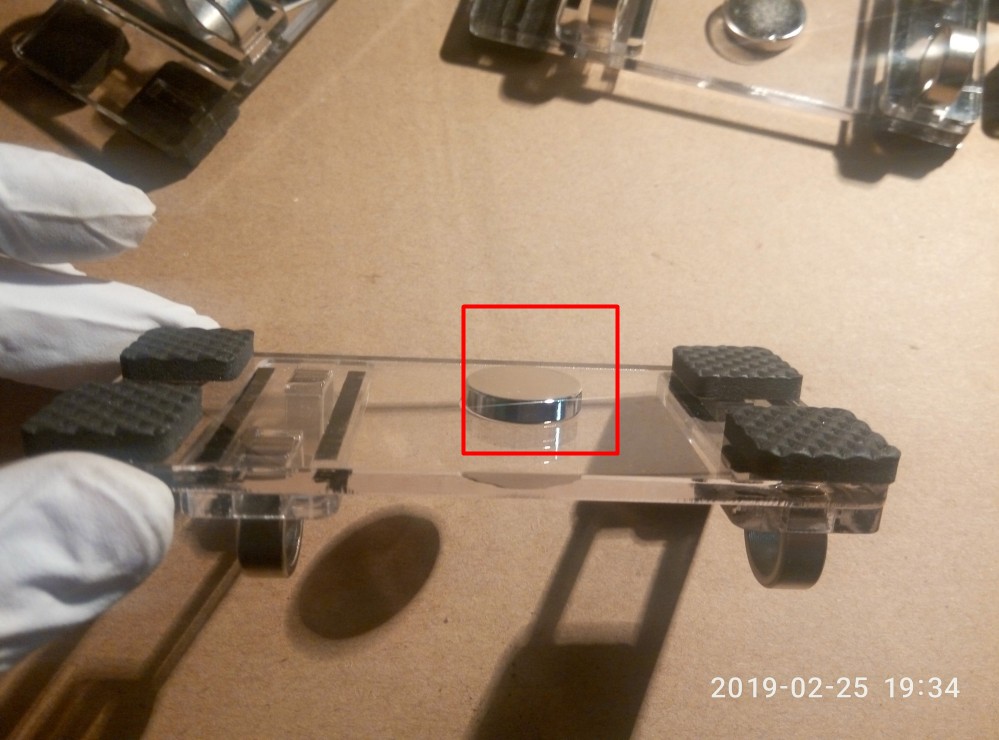
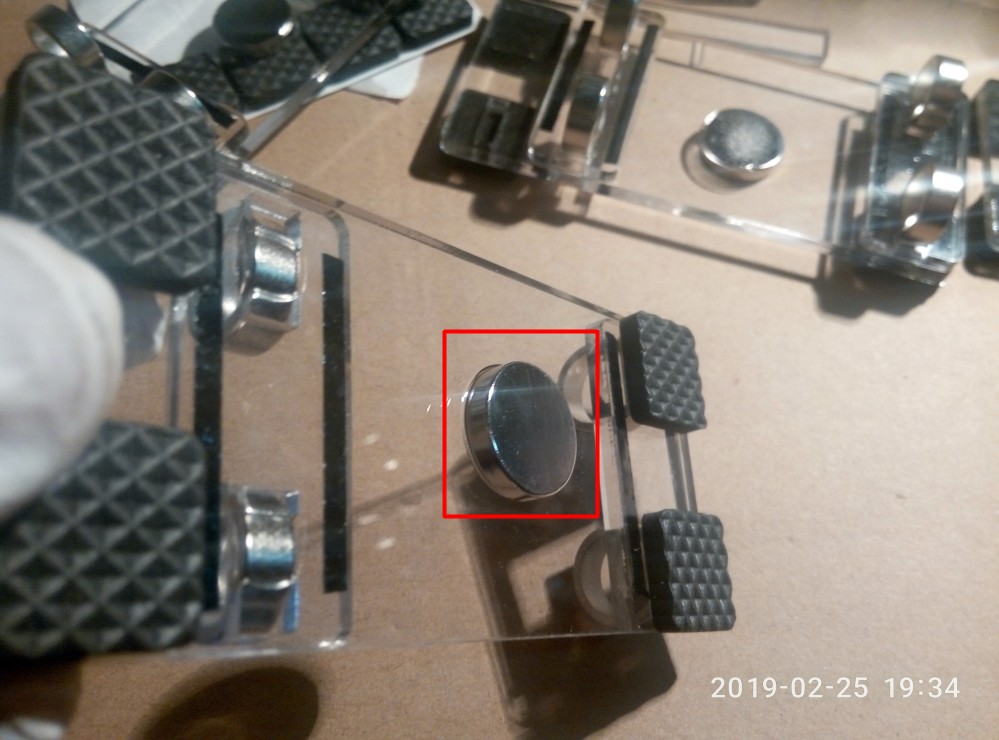
2 magnets are mutually exclusive
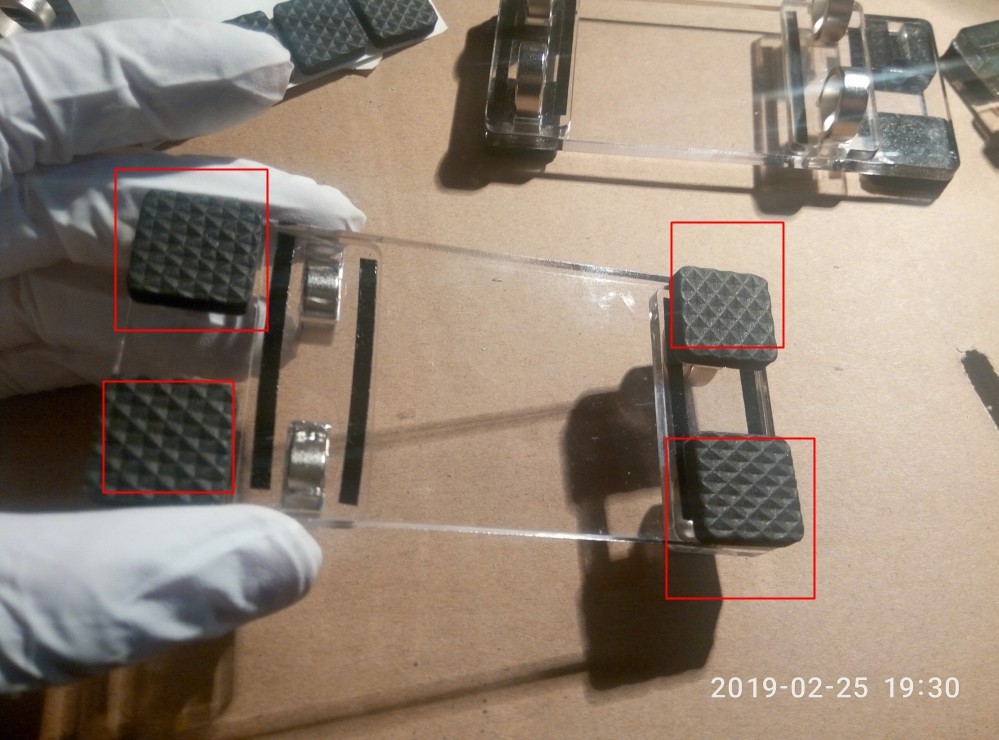
Sticked to 4 non-slip mats
This magnet is mounted on the back
Stick the front flap
We use UV-curing glue, no shadow glue, so we can’t see the trace of glue, beautiful
preferably strong fast-drying glue
Completed the simple part, below we enter the steps of the complex point, please be sure to read carefully
Step3
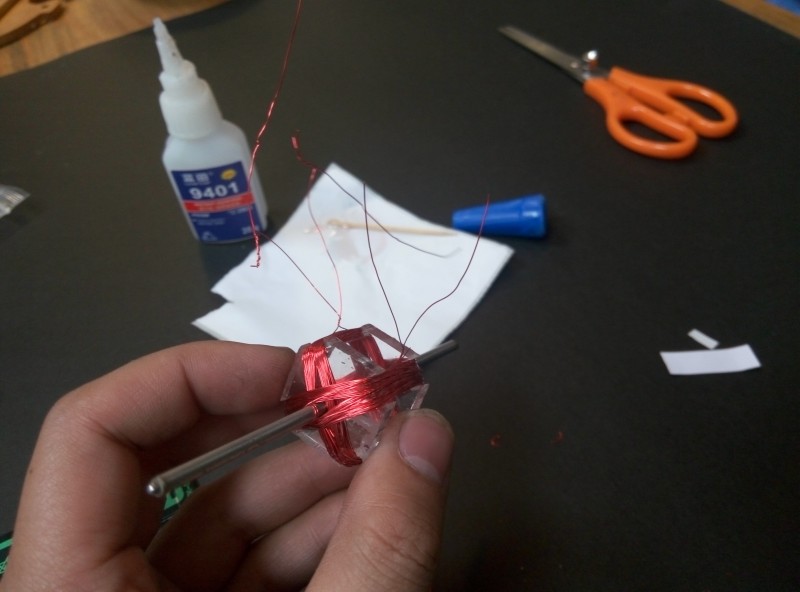
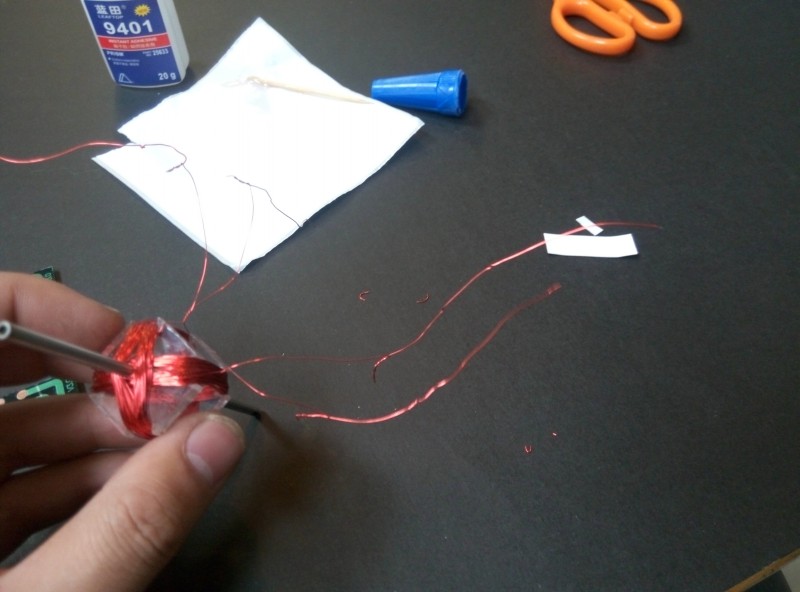
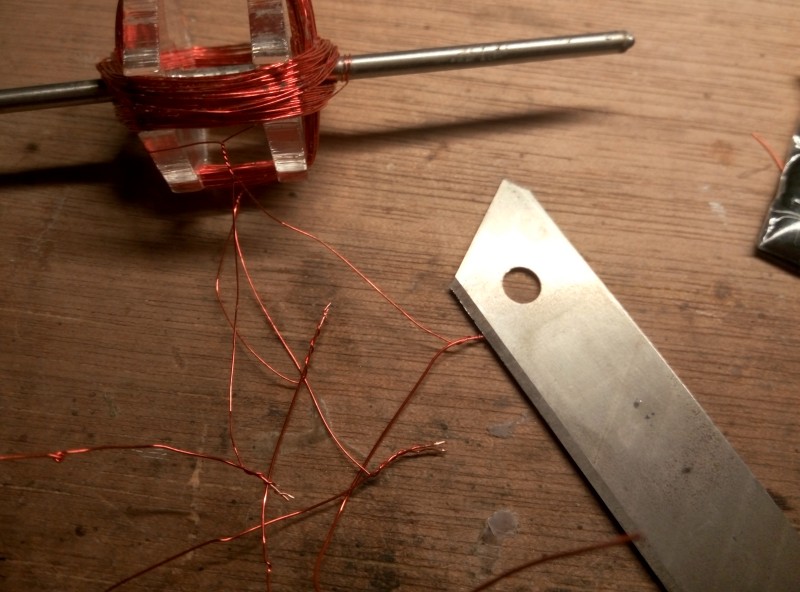
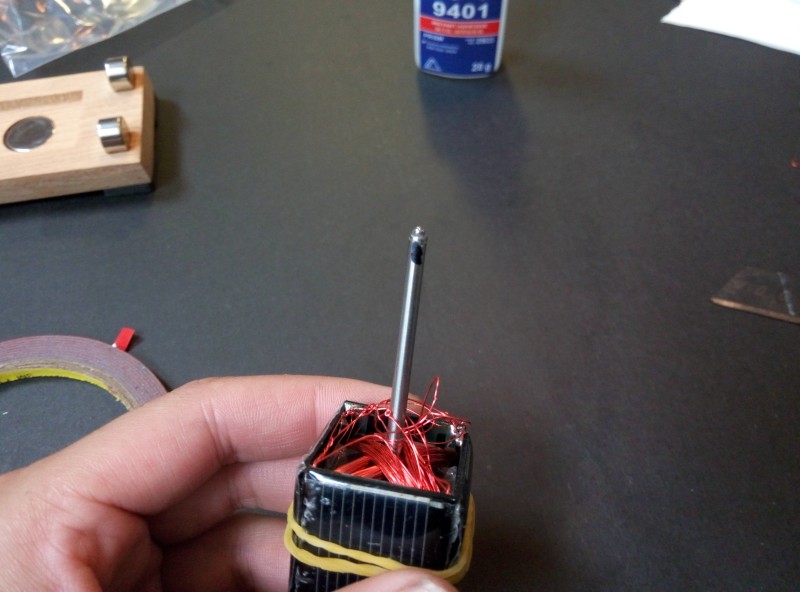
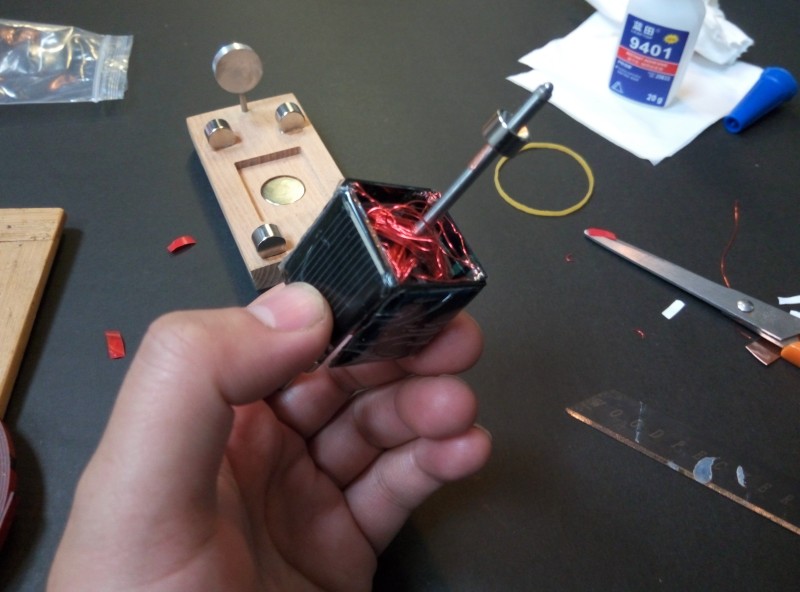
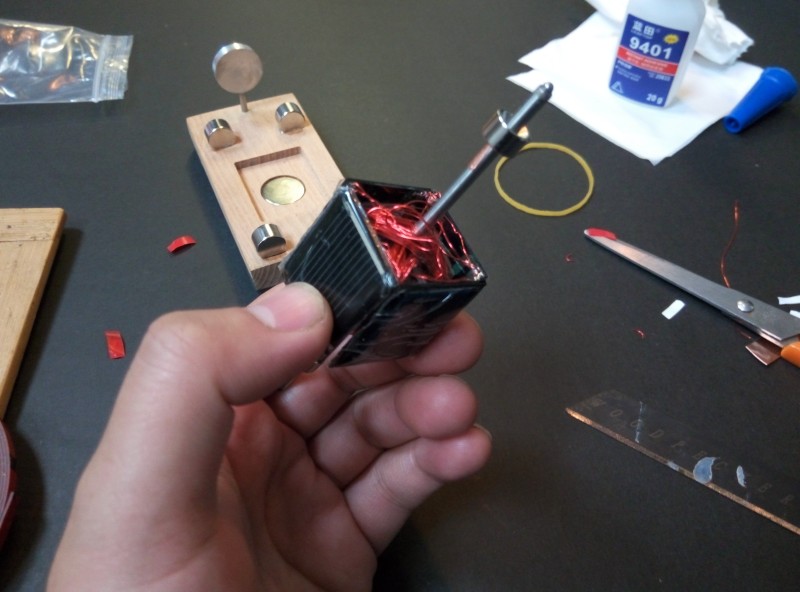
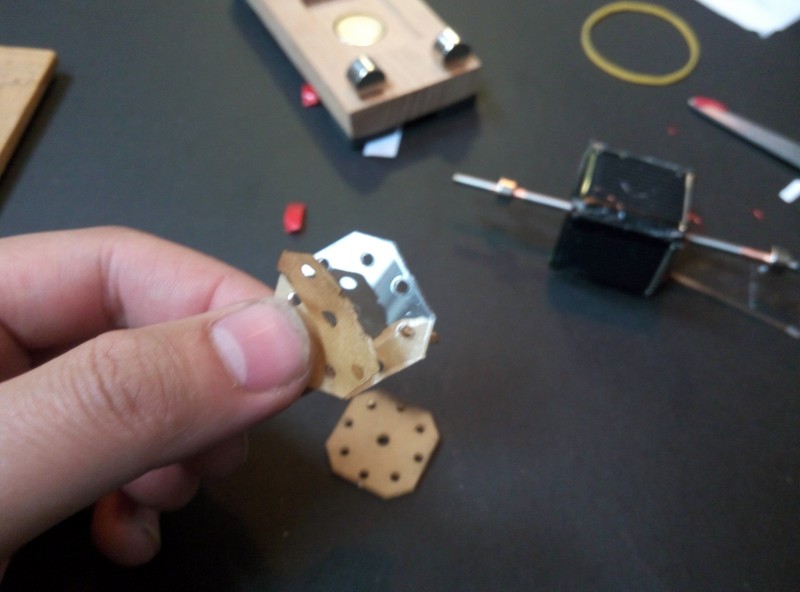
There are 2 windings, each winding with 2 ends,total 4 ends,all Connect a wire
The paint is not conductive, so use a knife to scrape the paint
The 2 solar panels are a pair,
The anode of solar panel A is connected to the negative electrode of B plate,
Similarly, the negative electrode of the A plate is connected to the positive electrode of the B plate
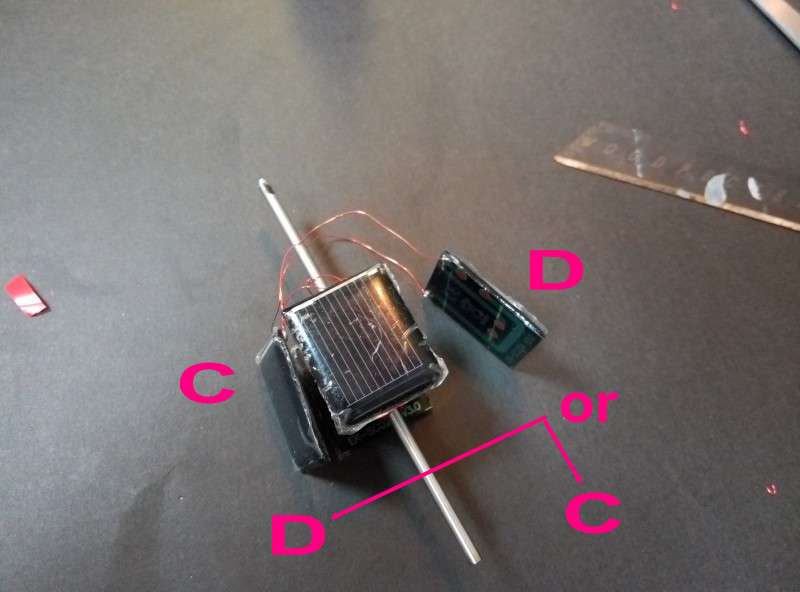
C and D do the same thing
not clear?look at this picture again
Step4
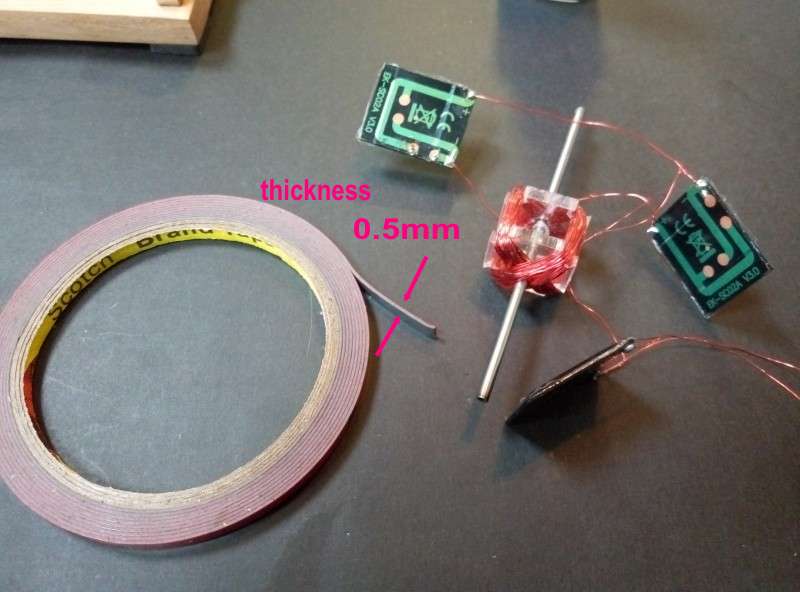
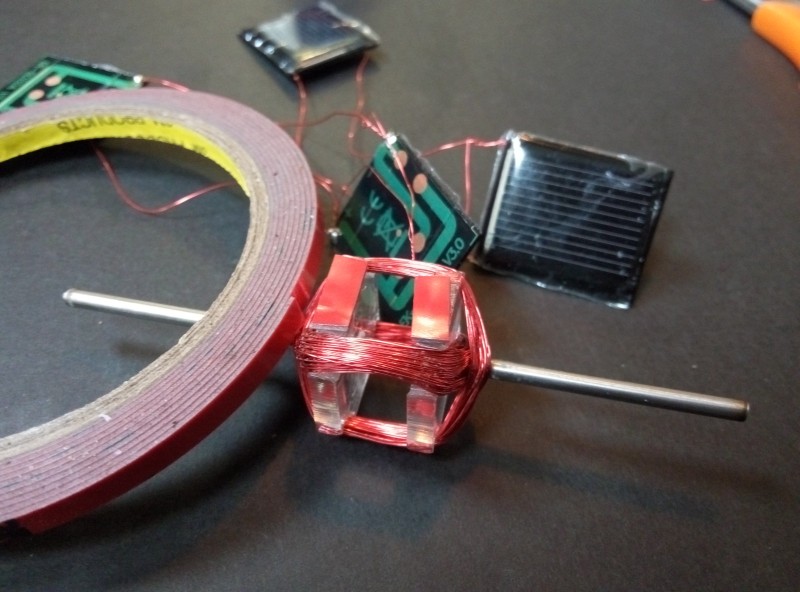
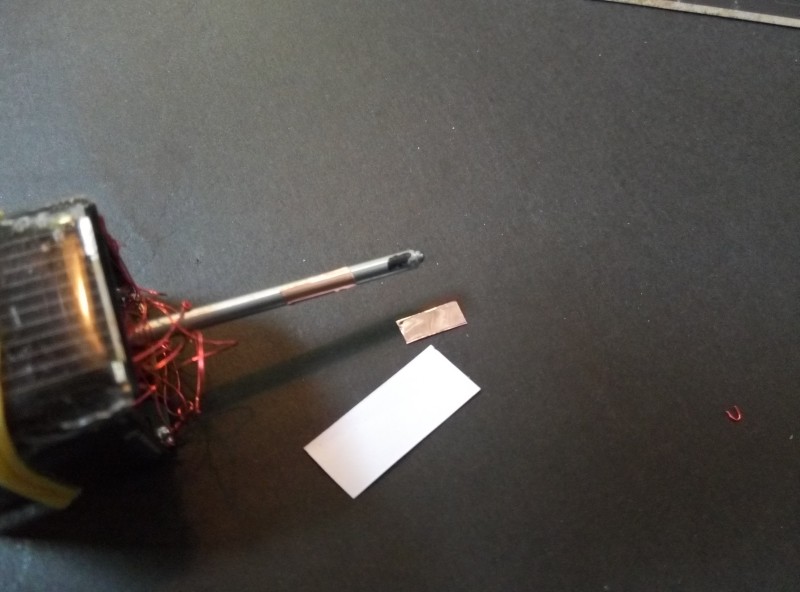
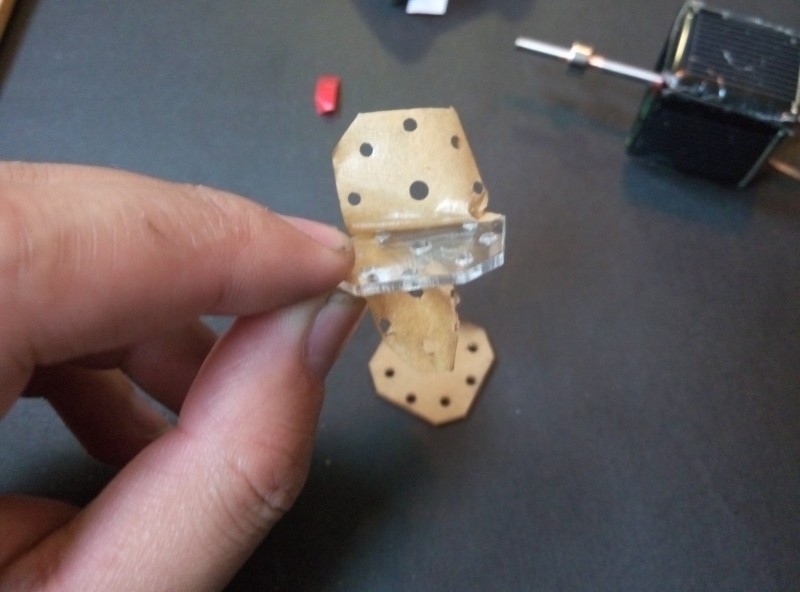
Prepare double sided adhesive, at least 0.5mm thickness(Because the width of the solar panel is 25mm, the length of the plastic side is 24mm,So you need a thick double sided adhesive,If you don’t have it, please pad it with a piece of paper ,Compensating the gap of 0.5mm)
Handles the opposite sides first
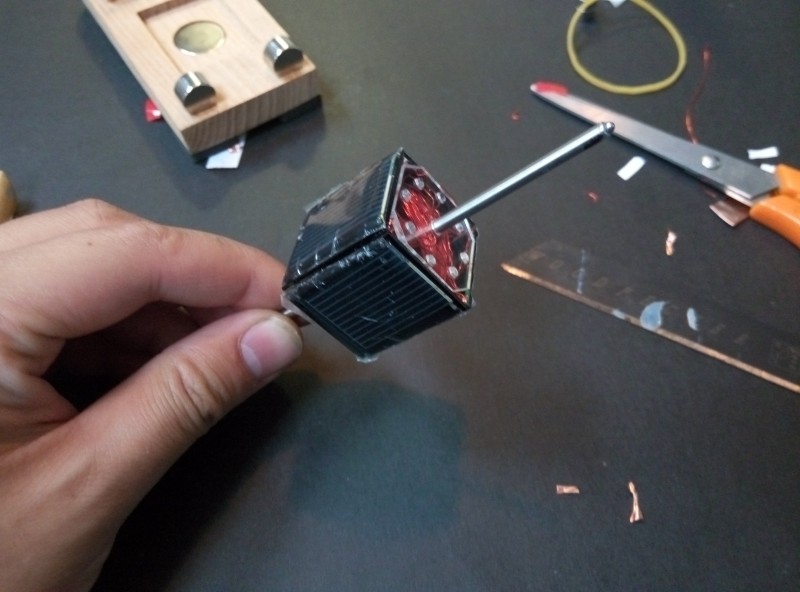
For the sake of beauty, put messy wiring in the front
It’s time for uncertainty
C and D, which is on the left or on the right, we don’t know for sure, so it needs to be determined by experiments(In fact, it can be determined from the beginning, but if we start to consider the direction of the winding, it is more complex, so we completely ignore the direction, through the final experiment to determine the final installation position of the 2 solar panels, relatively simple and direct)
Not sure,so we start to try
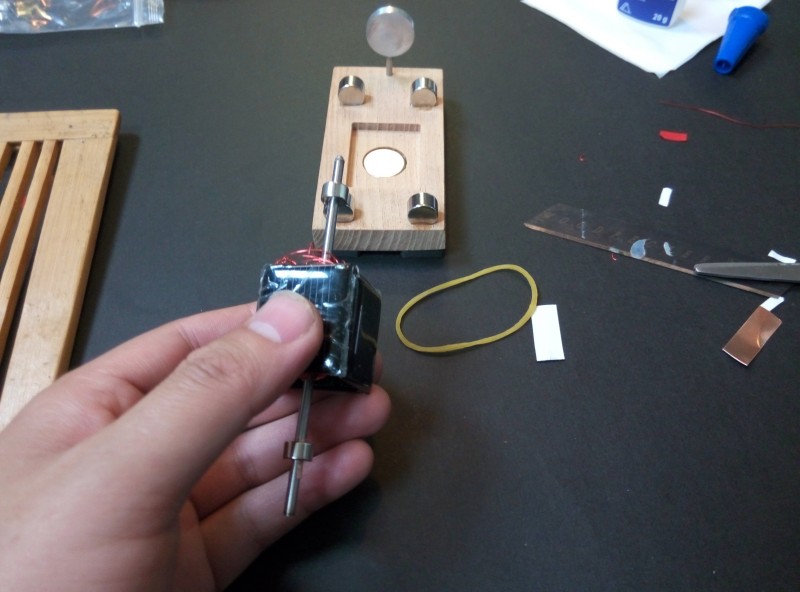
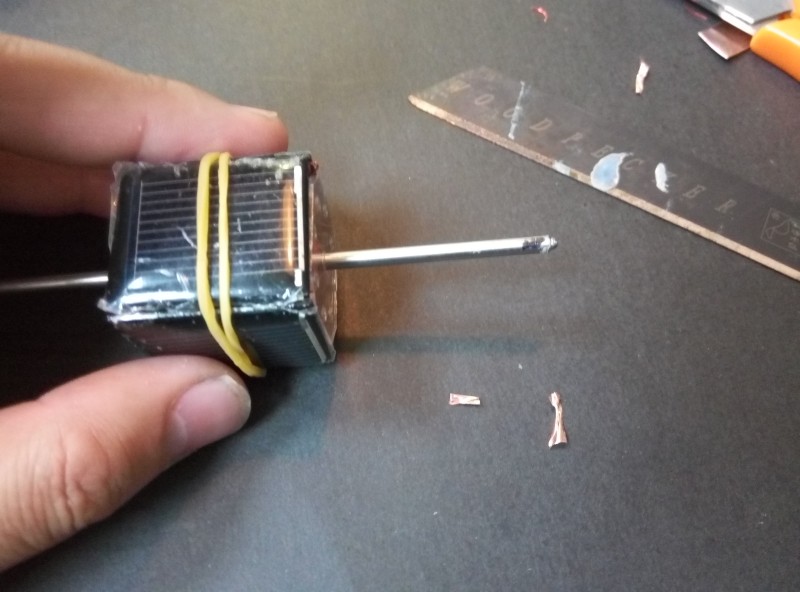
first Find a rubber band,do not fix C and D with glue,Temporarily fixed with rubber band
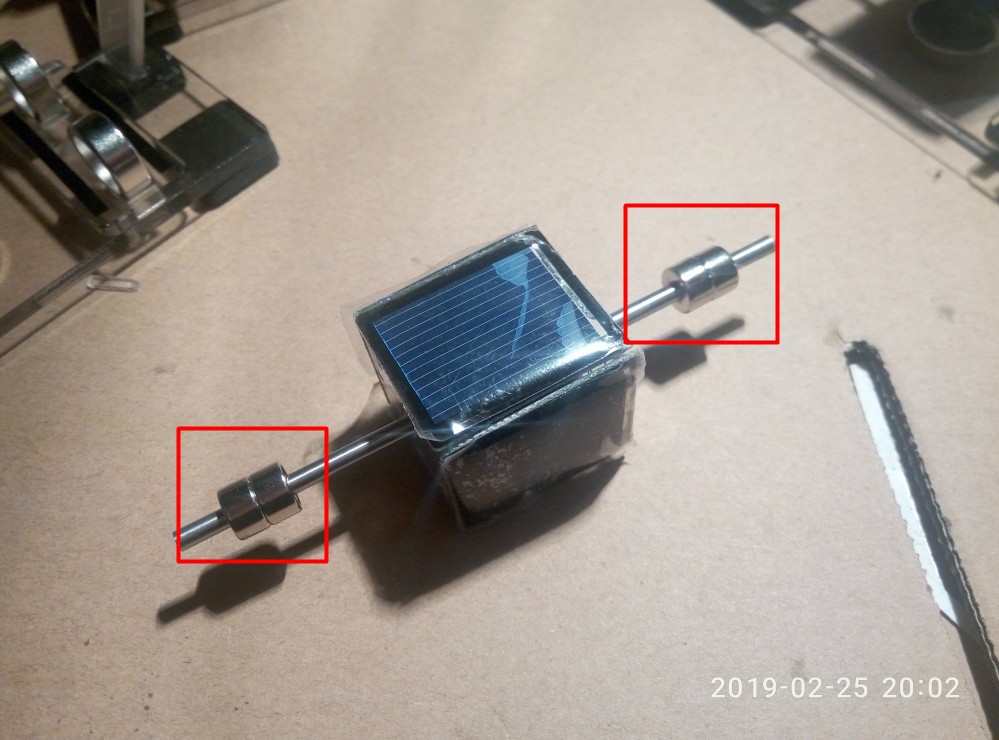
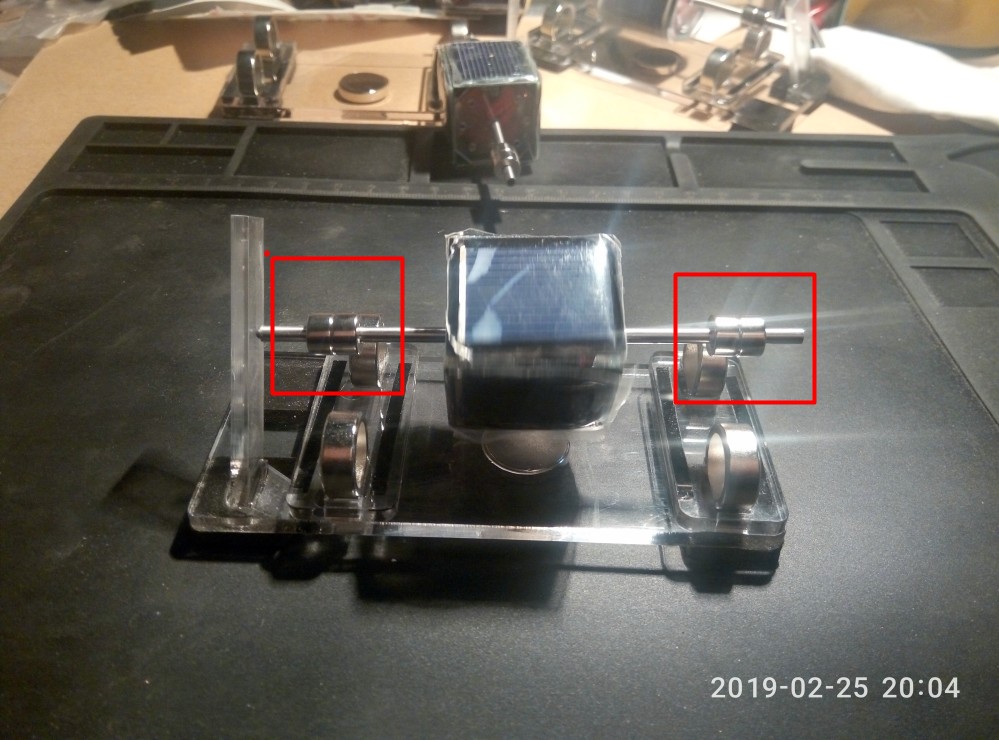
Gap between compensation and magnet
Attention!@
The picture is the previous data, using 1 magnet, please use 2 magnets
also please note the bottom below,it is another style of Mendocino, please ignore the difference, use the bottom you just completed.
Adjust the position of magnet,
So that he can levitate
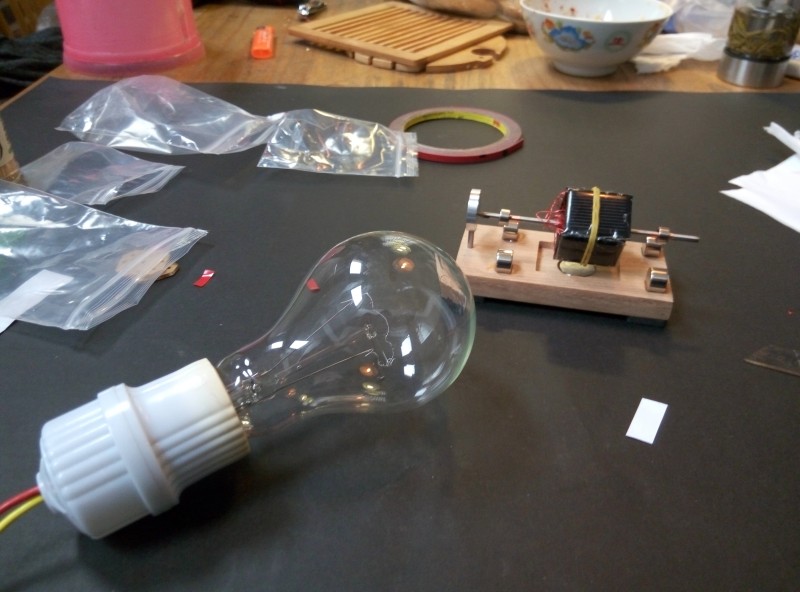
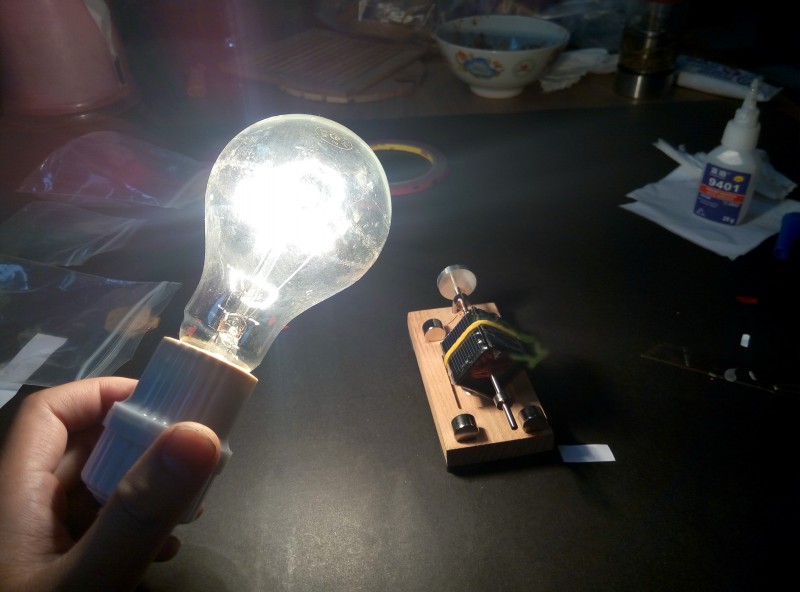
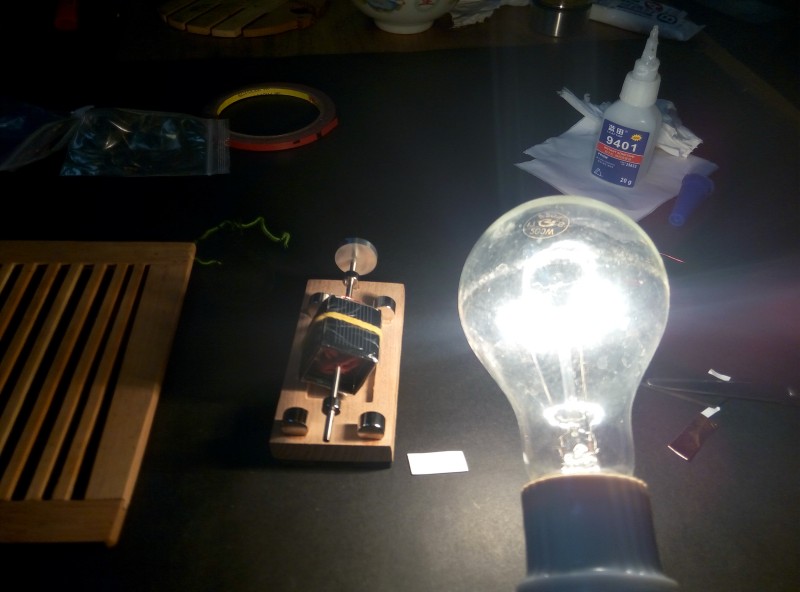
if no sunshine,you can use a Incandescent lamp,plz do not use LED, fluorescent lamp(they can not work)
Do not wait it rotate,it wont,Poking with fingers,
See if there’s any sign of accelerated rotation
If there is, the position of C and D is determined, if not
Reverse direction, continue to observe
if still not
Change the direction of the light
do this again
Poking with fingers,
See if there’s any sign of accelerated rotation
If there is, the position of C and D is determined, if not
Reverse direction, continue to observe
After you try this,still not Accelerated rotation was observed,that is mean the C and D need exchange
so let us do this
change the position of C and D
ok,let us try again
this time we do as before,It speeds up spinning,so We’ve identified the positions of C and D and fixed them with glue
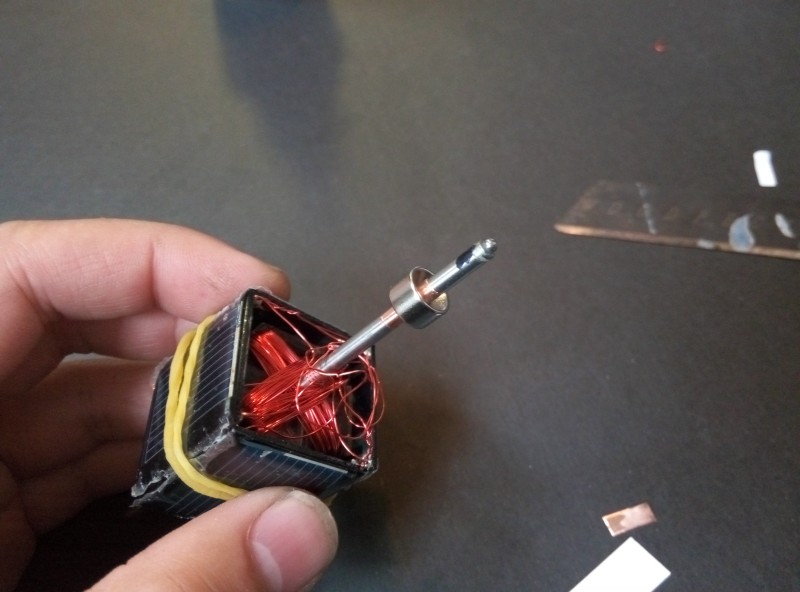
The hole will be a little tight,
Push it in(not push too hard,will break it.)
See the picture, 2 magnets, please note that the picture above is different from what you need to do.
The picture above is just a different base shape, the principle is the same, so it will be like this after assemble it.
At last you can choose assemble the propeller


